First, choose your opal.
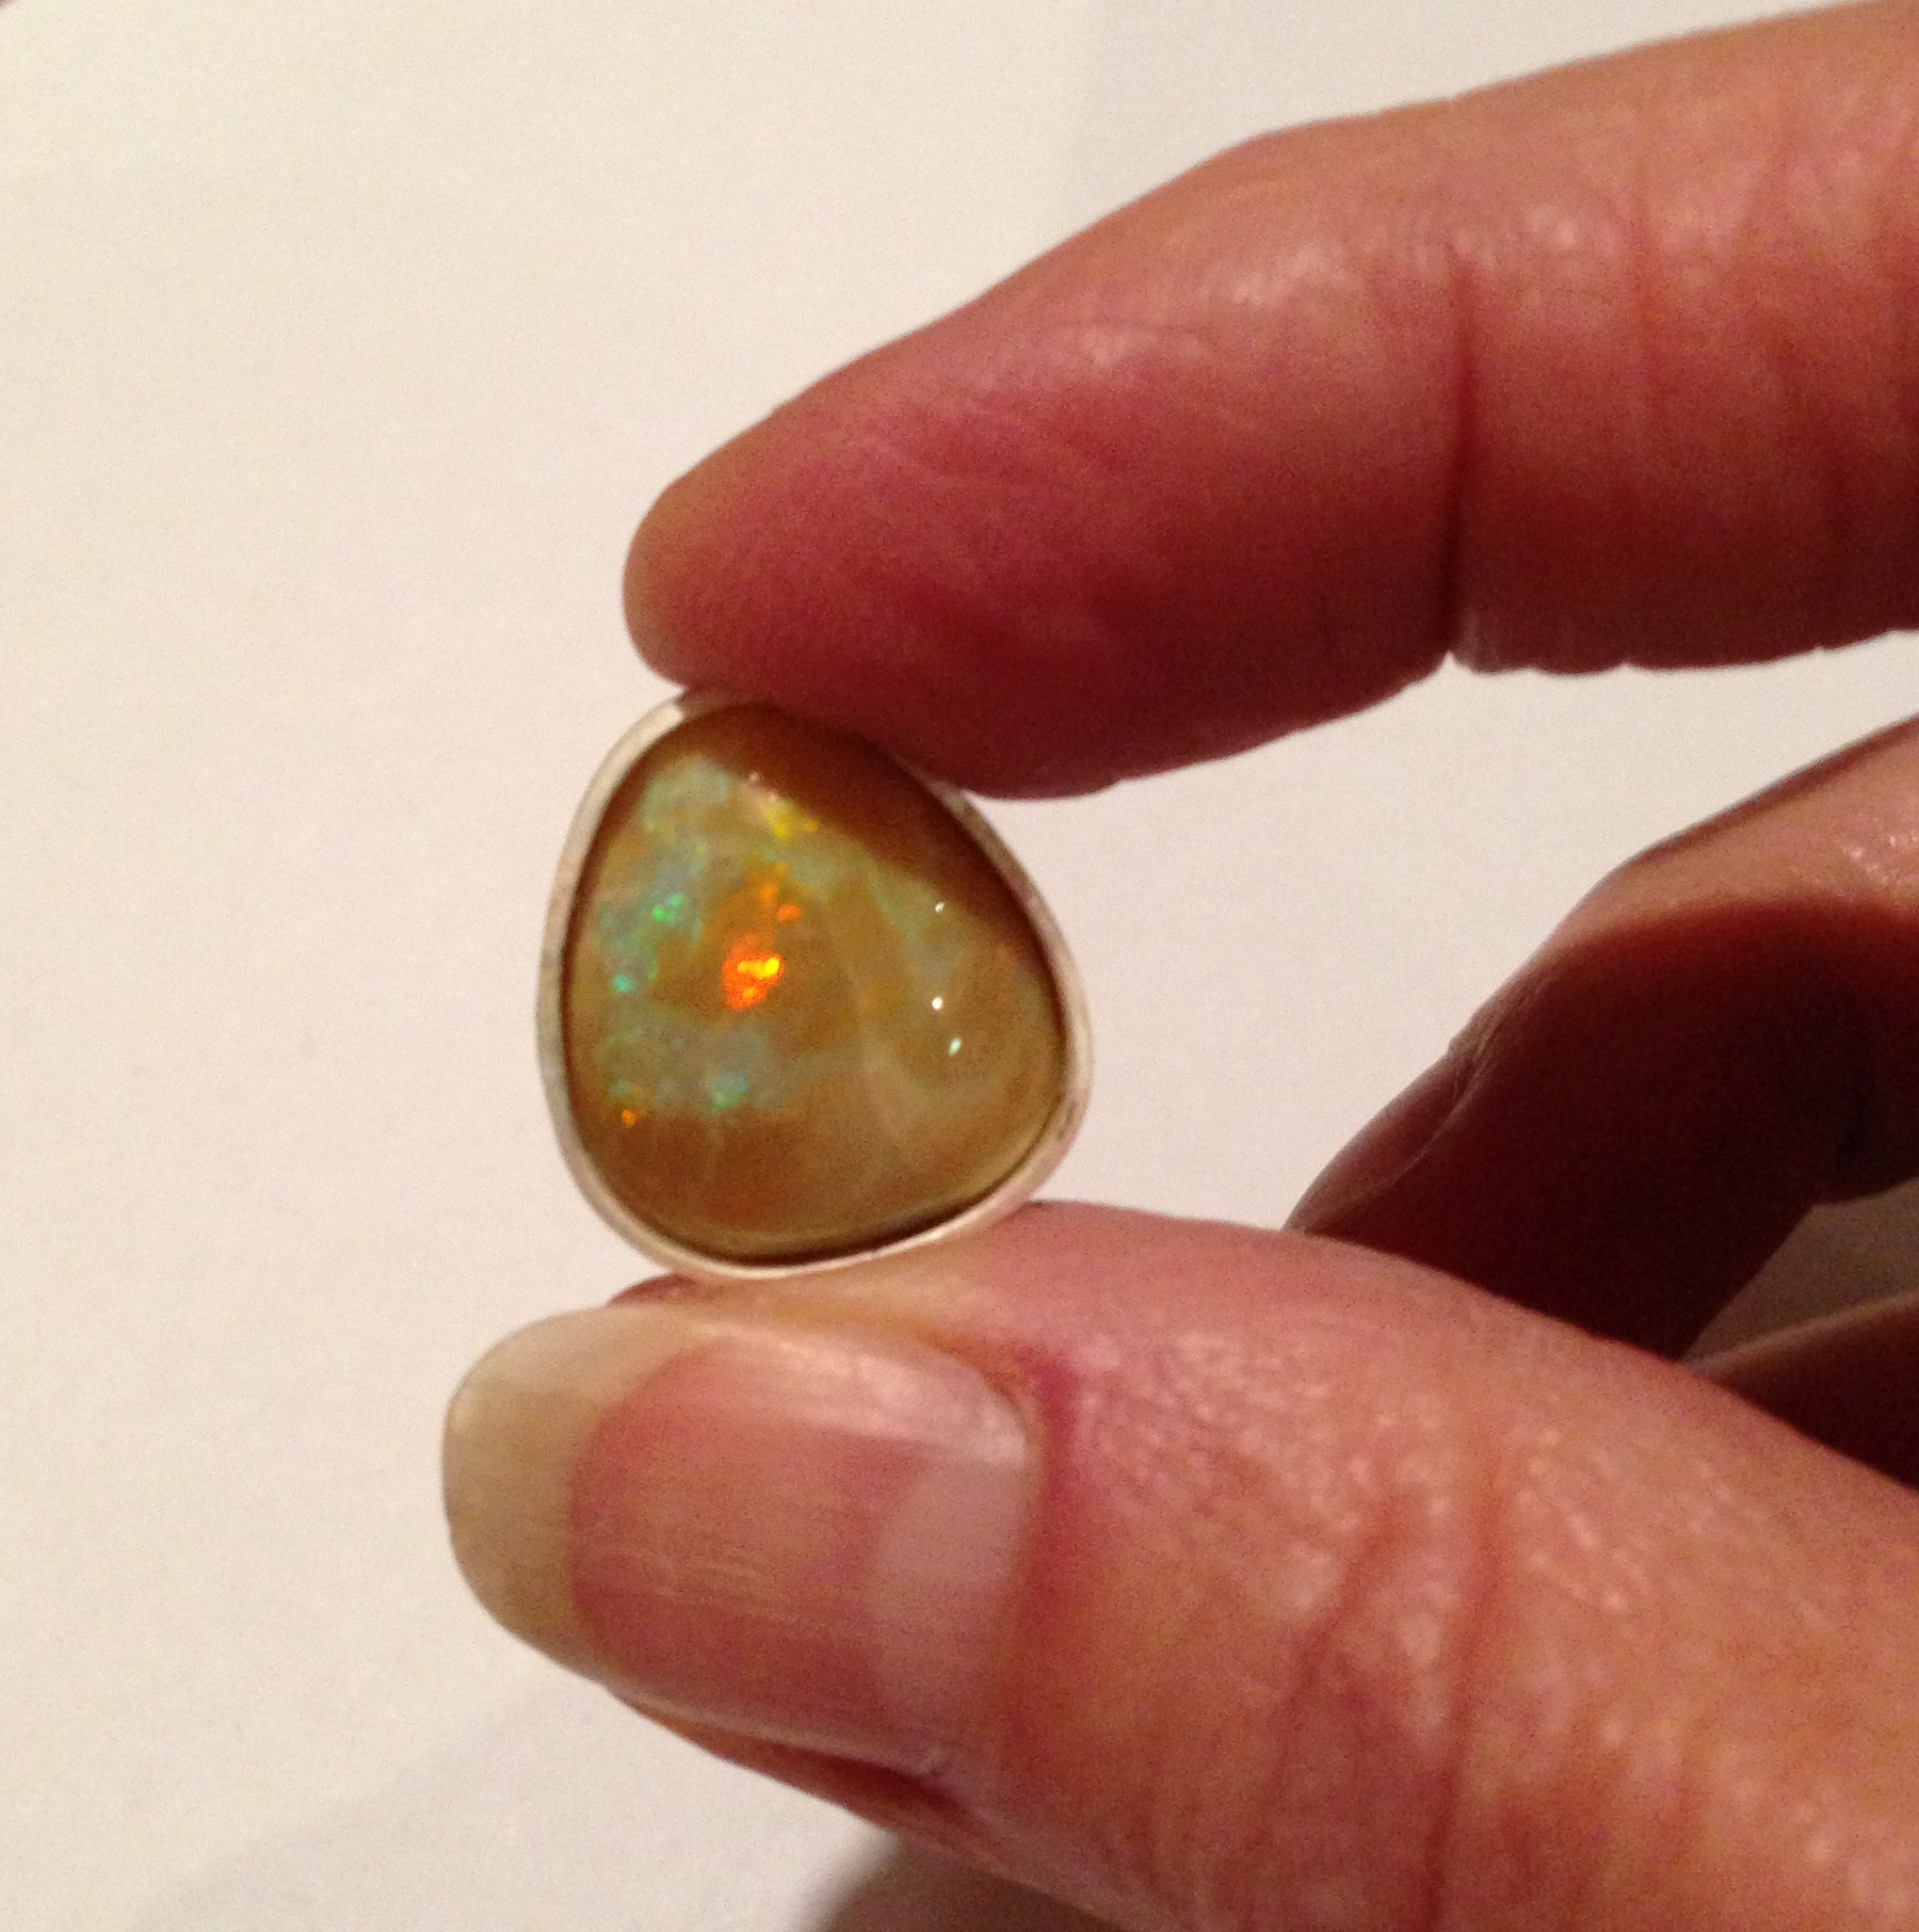
The one I’ve picked was given to me so it has special meaning. It’s a solid Australian opal (of course) and a very unusual colour – butterscotch.
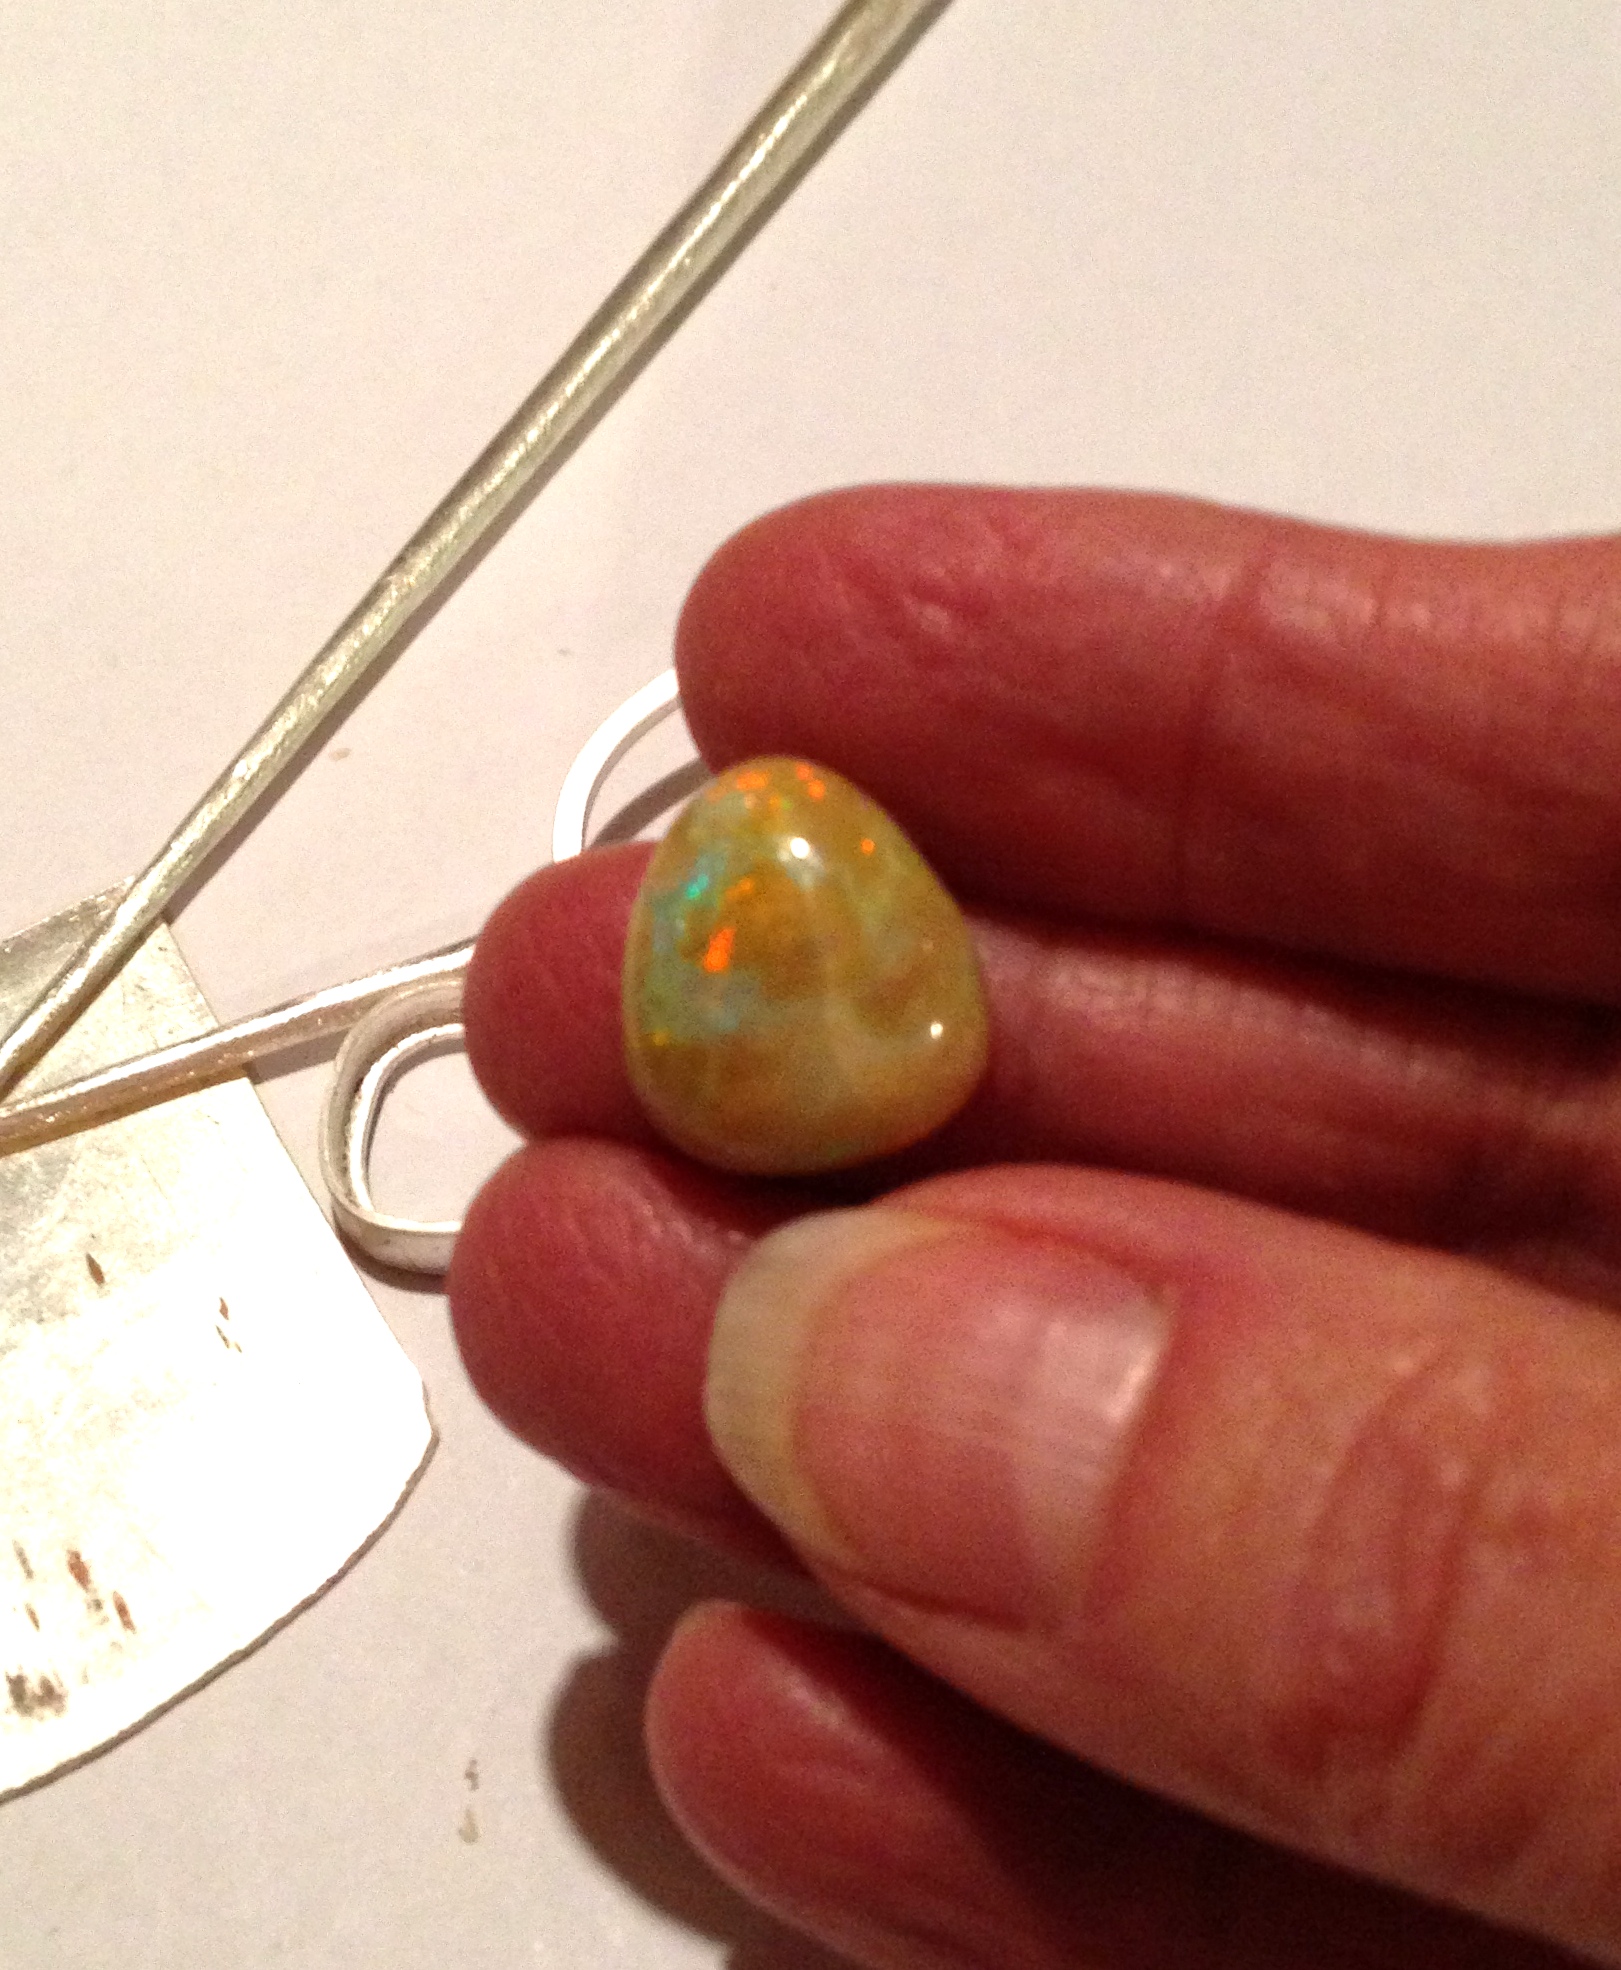
I’ve never seen an opal like this before. It has quite a lot of fire and looks good from a few different angles – very important! Also, there are no cracks, just a minor surface occlusion. It has a flat back which will lend itself nicely to a bezel setting.
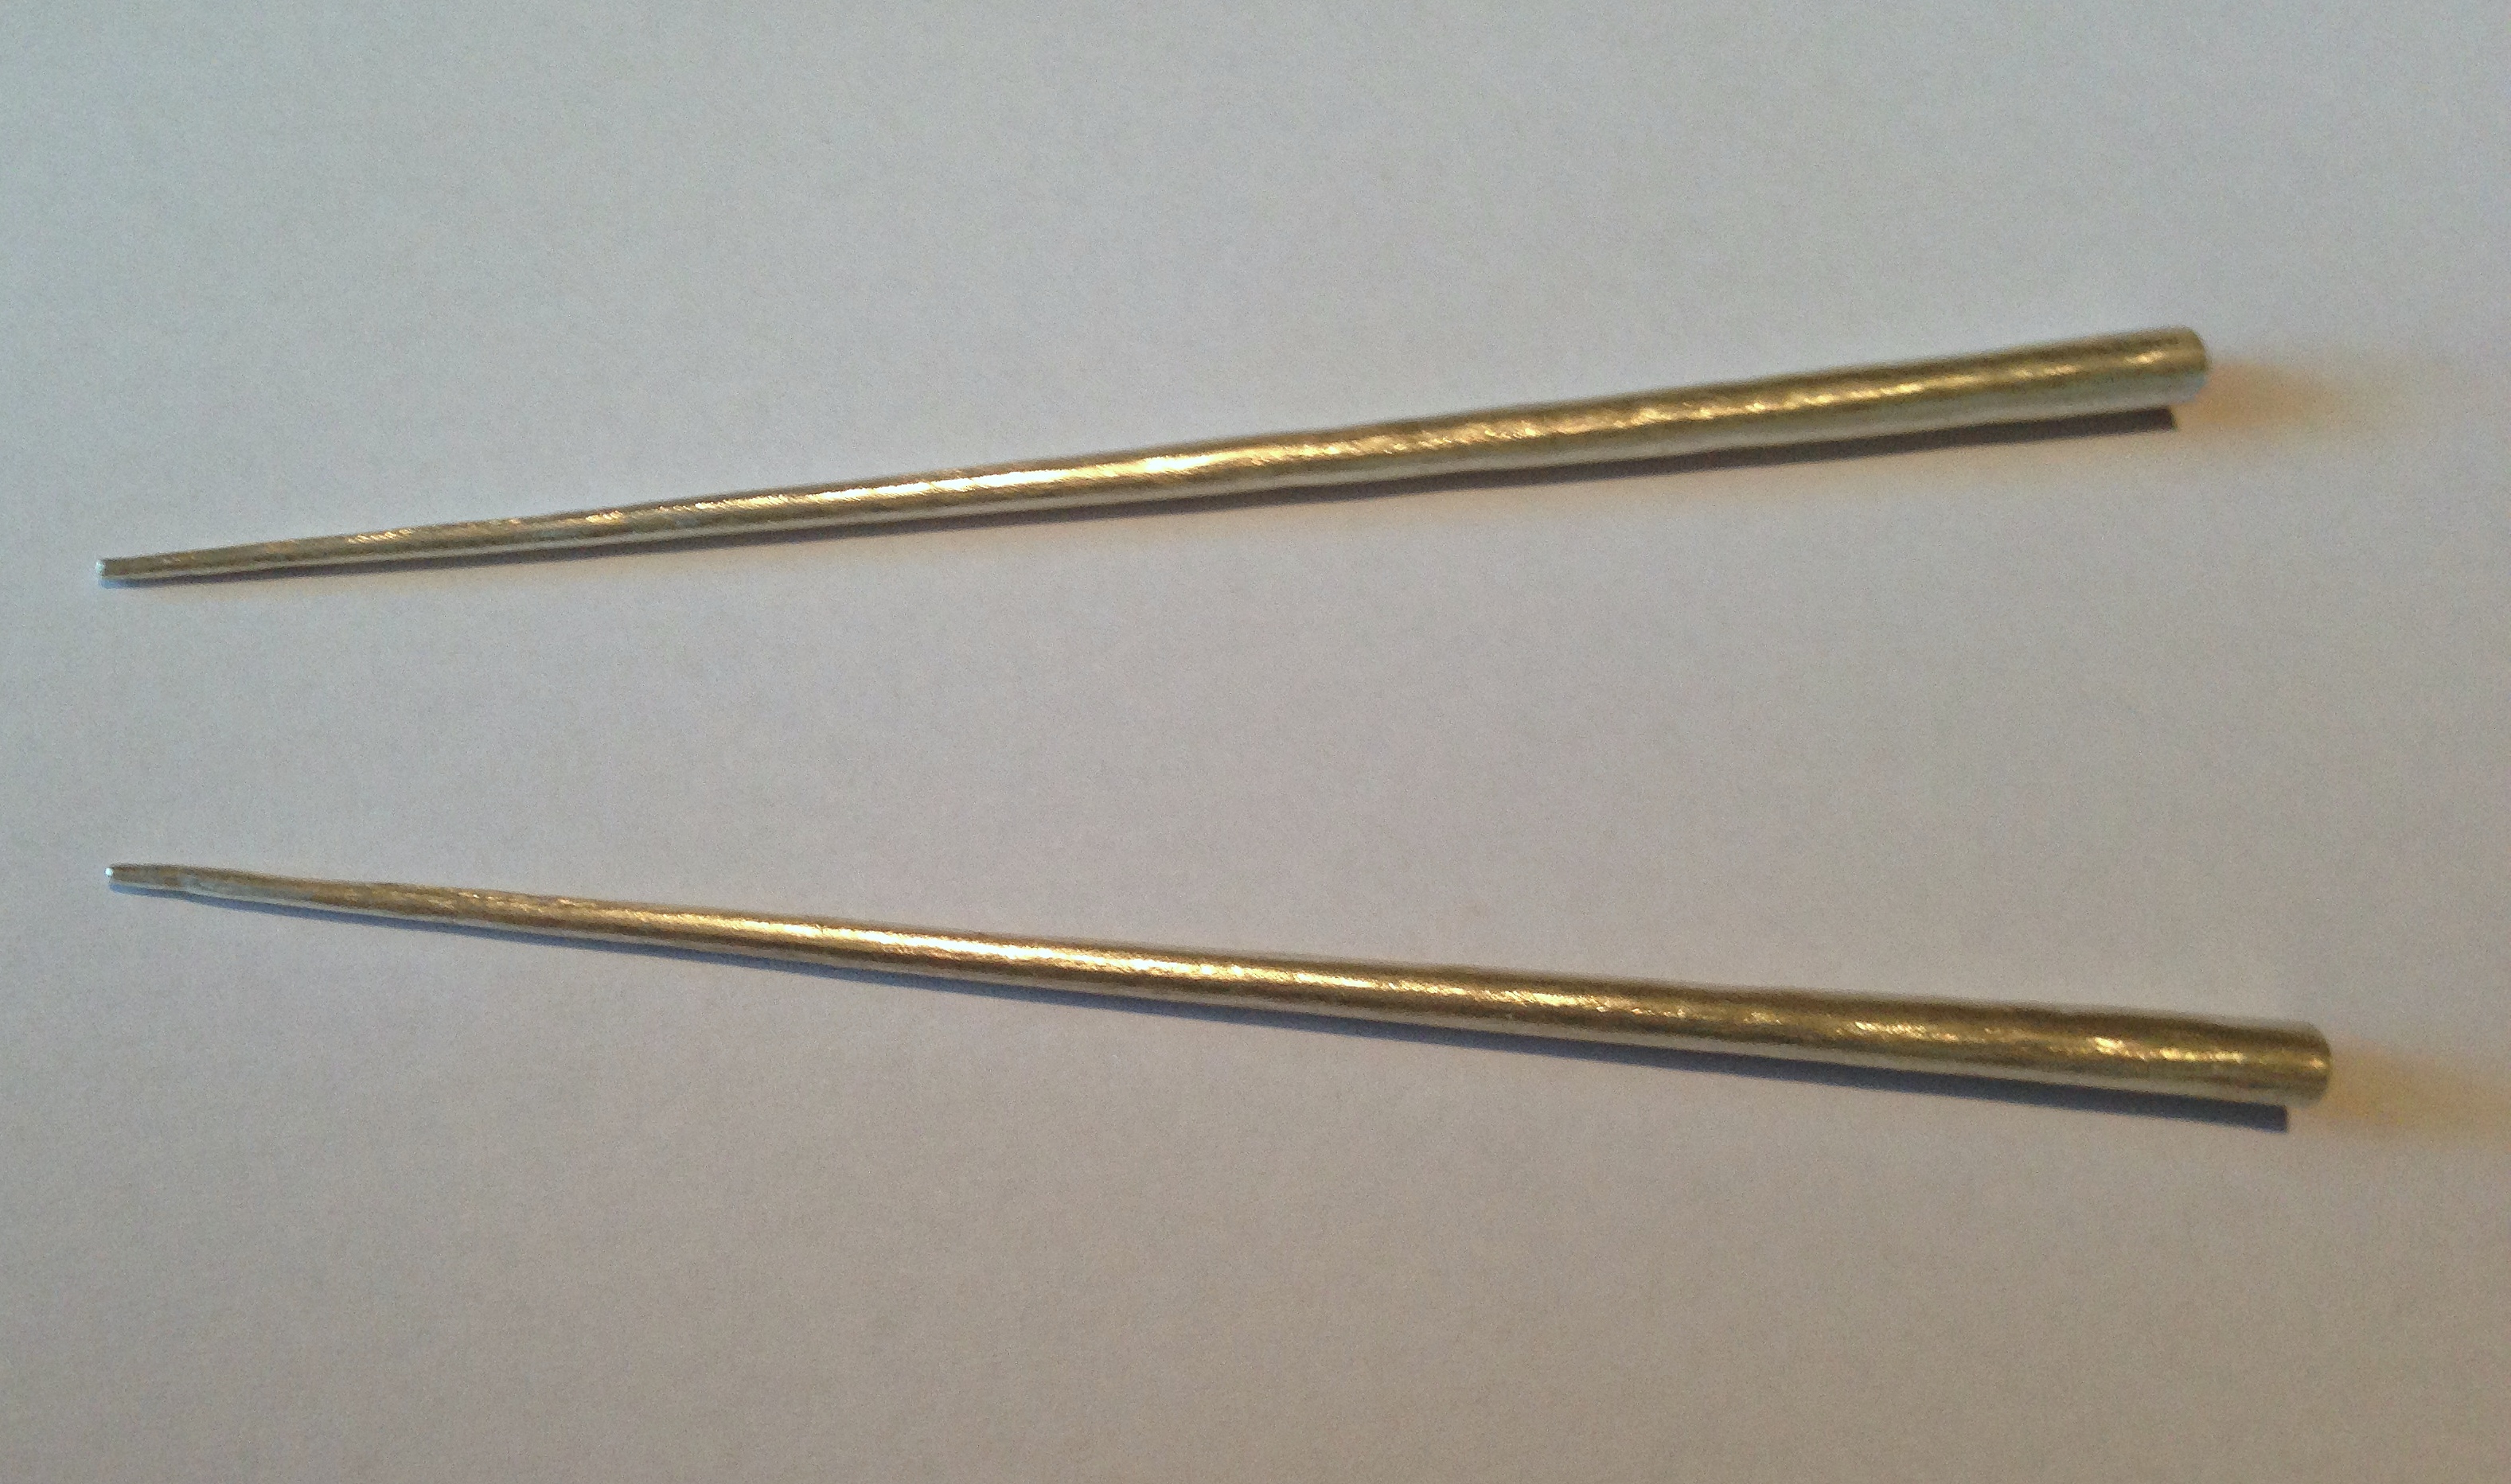
This opal will be set in a high silver dome with a neck piece made from hollow tapered silver ‘carrots’. I made the ‘carrots’ out of fine silver (6.5mm) because I wanted a very slim taper. It’s virtually impossible to achieve this taper with sterling (the metal is too hard). These carrots will be shaped into a gentle curve, with the pointed end meeting the opal pendant. I’m unsure how I will finish the necklace at this time, I have to see how it develops.
The next thing to do is make the bezel for the opal. I want the back to be open because it’s a solid opal. With some opals, like jelly or opal crystal, the back is left intact because they are transparent and need a backing plate to show off the depth of their colour. Often this backing is blackened.

The bezel must be a tight fit. The bottom of the opal has to be firmly seated, making contact all the way around with the inner wire that has been soldered into the bezel. This prevents stress on the opal when it’s being set. Some opals can be fragile but if they’re set correctly there aren’t problems in the future.
Next … draw up your design. Actually I was taught this should be the first thing you do but my brain doesn’t work that way. I usually have a pretty good idea of the direction I want the piece to take when I start playing around with the stone but I always remain flexible because – and I know it sounds odd – sometimes the stone has a different plan.
At this point I do a rough drawing of what I want and work out any technical problems I foresee. I always keep a diary of the type of stones & metals used, metal thicknesses and any problems I have along the way and what I did about it.
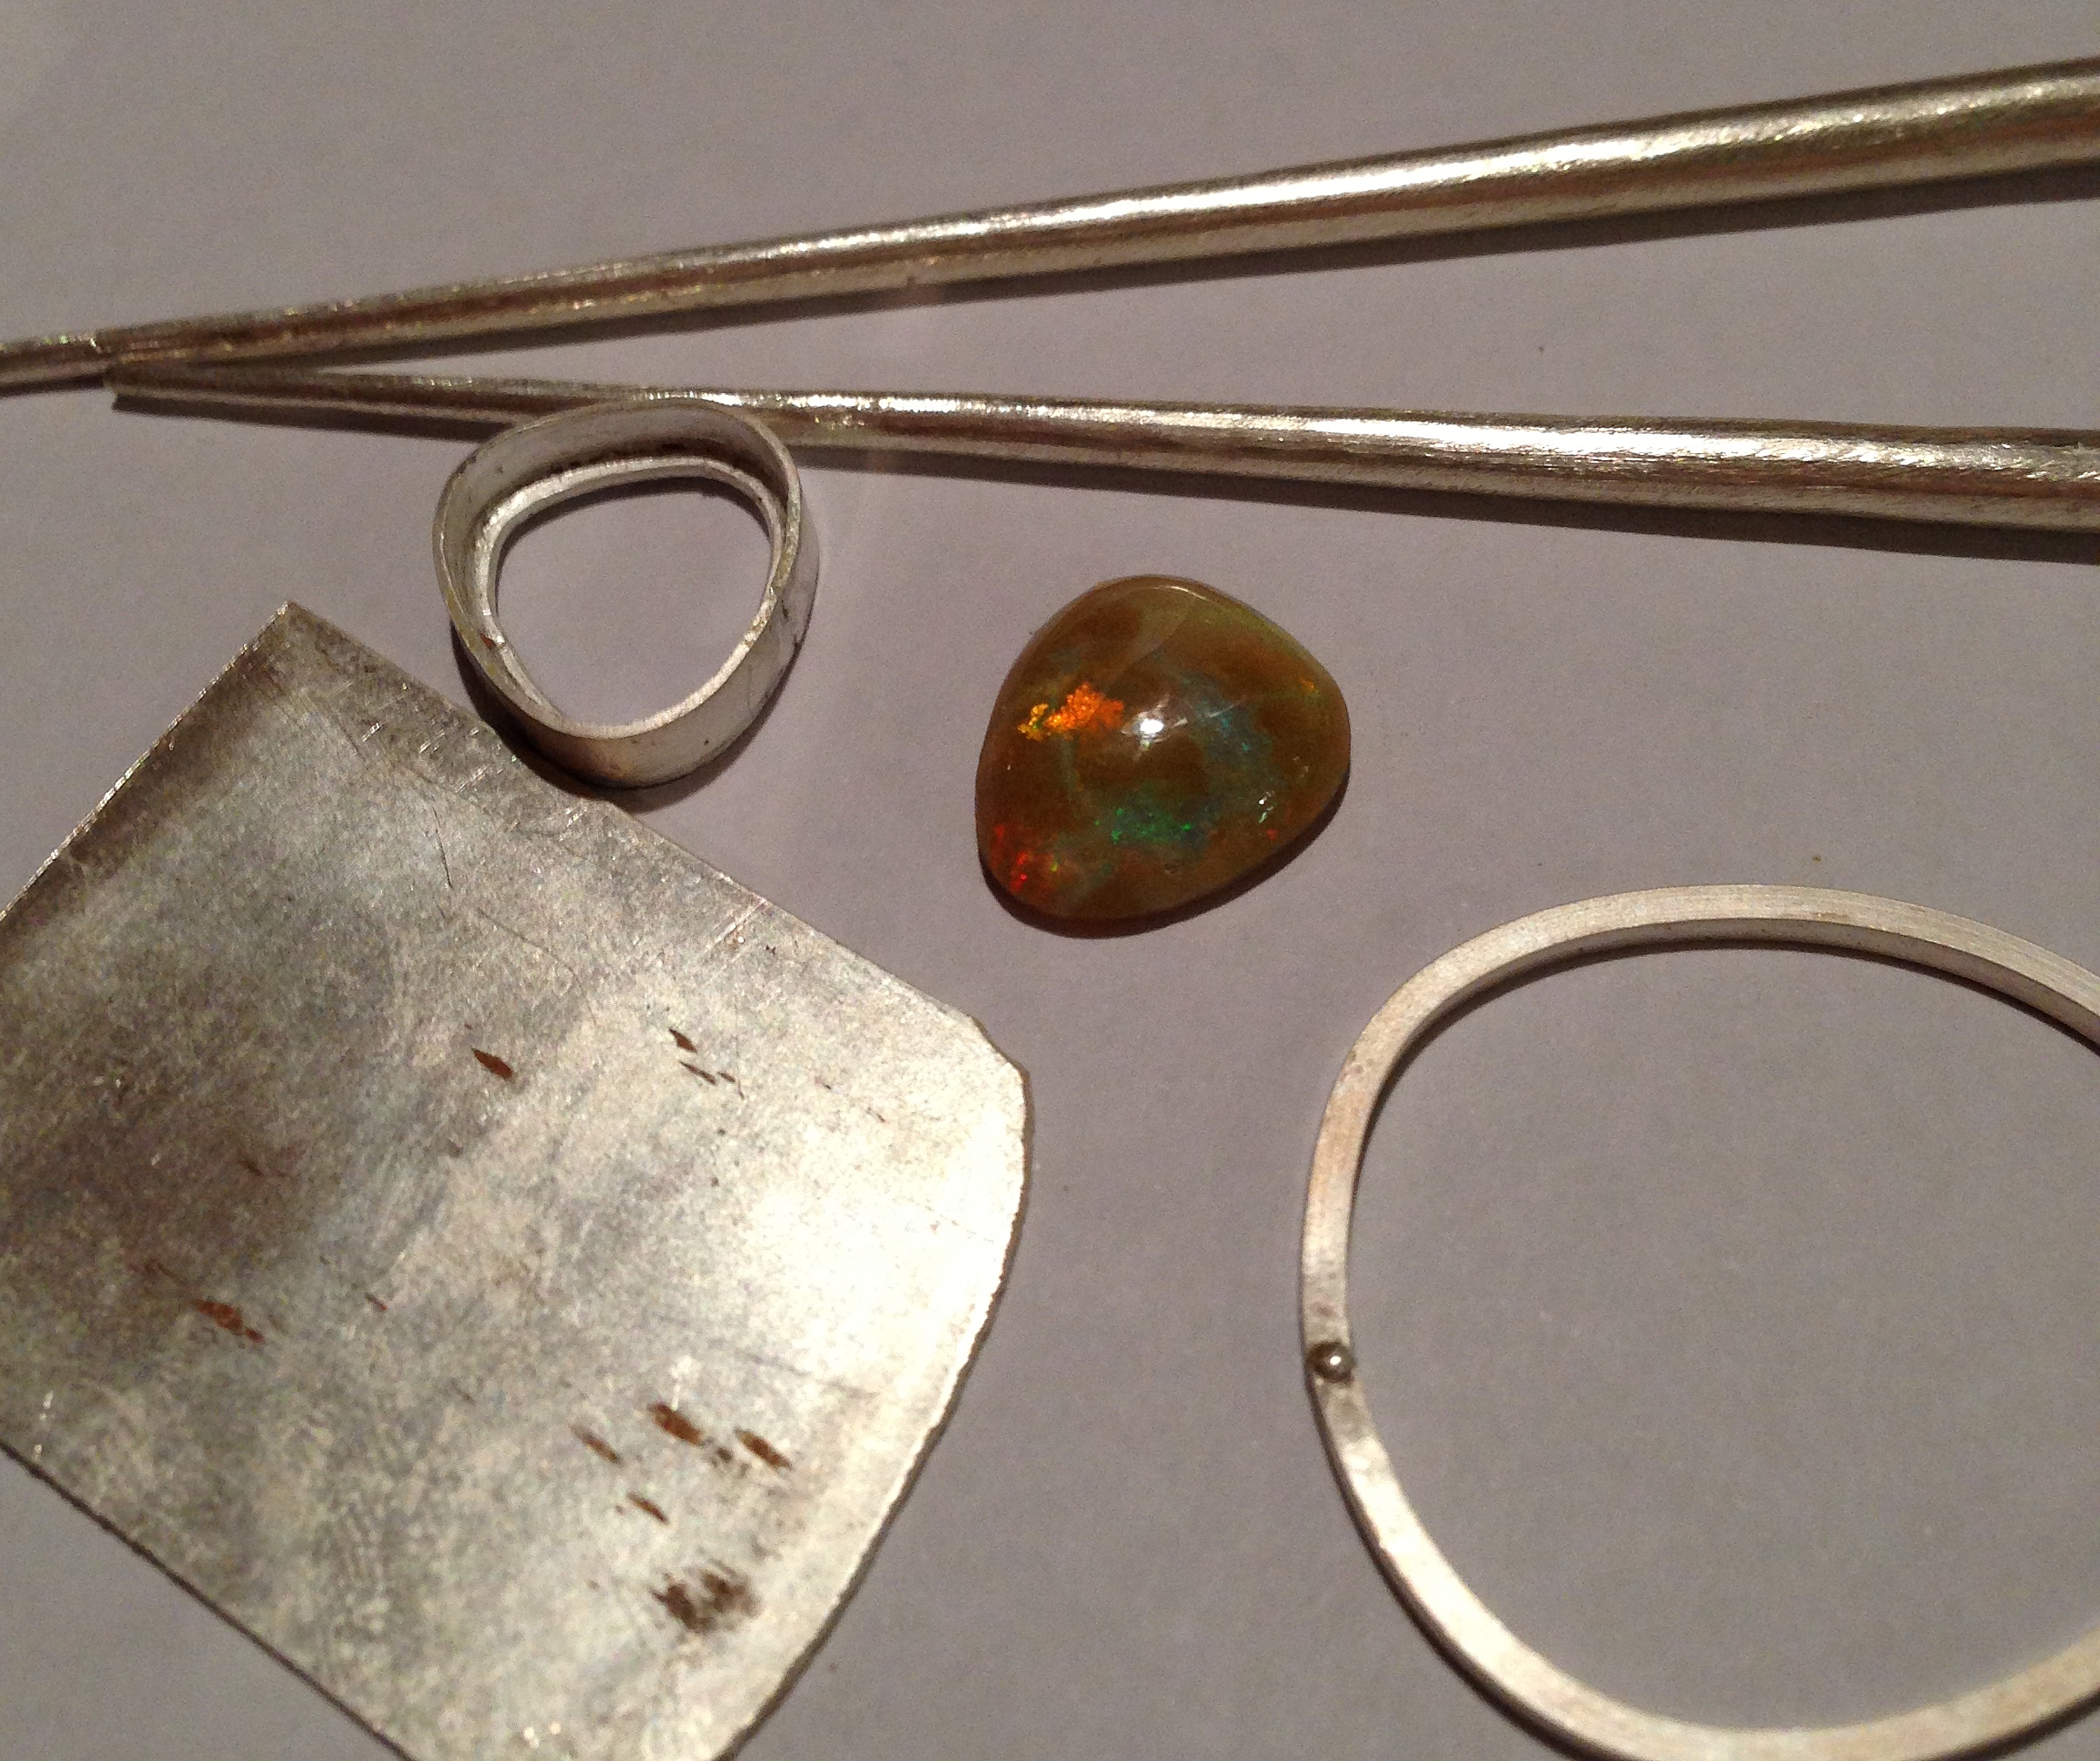
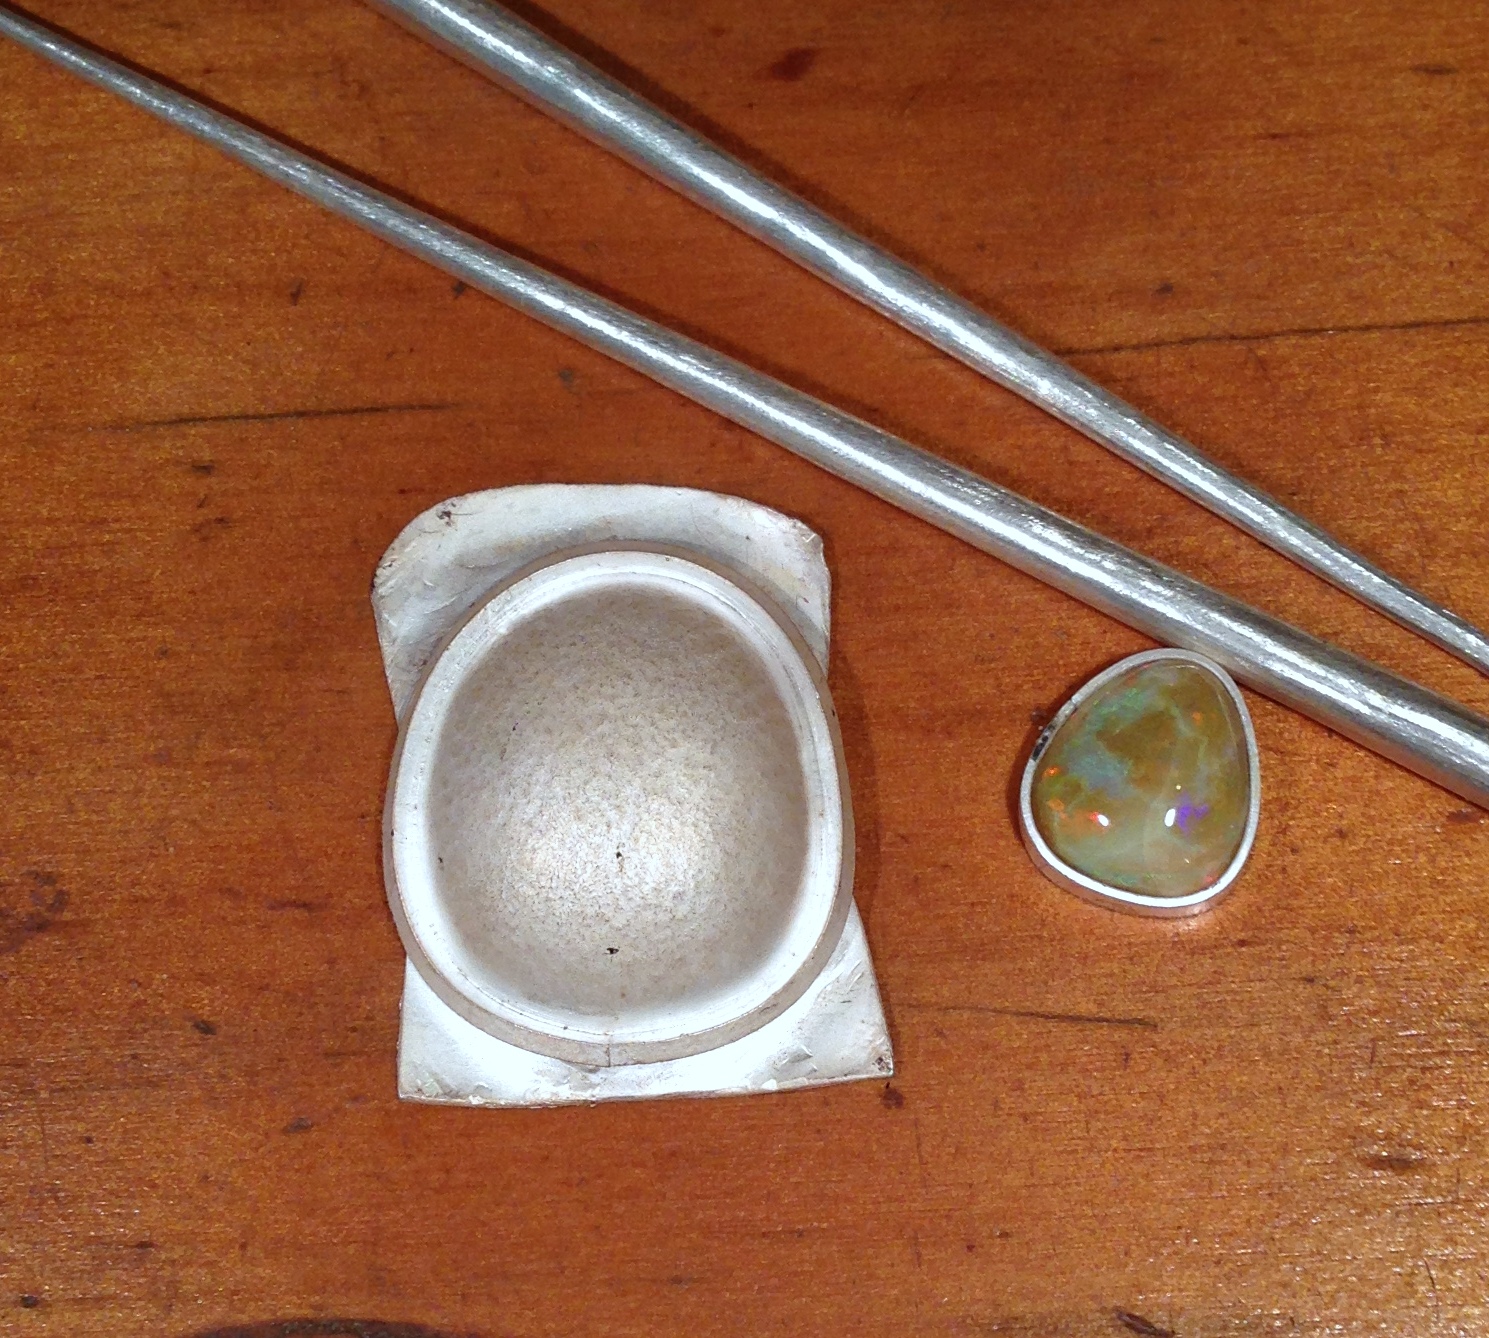
Below is my opal, the open bezel setting, a flat piece of silver that my opal will eventually live on, the surrounding square wire ring that will be soldered onto the flat piece of silver sheet, and of course the ‘carrots’.
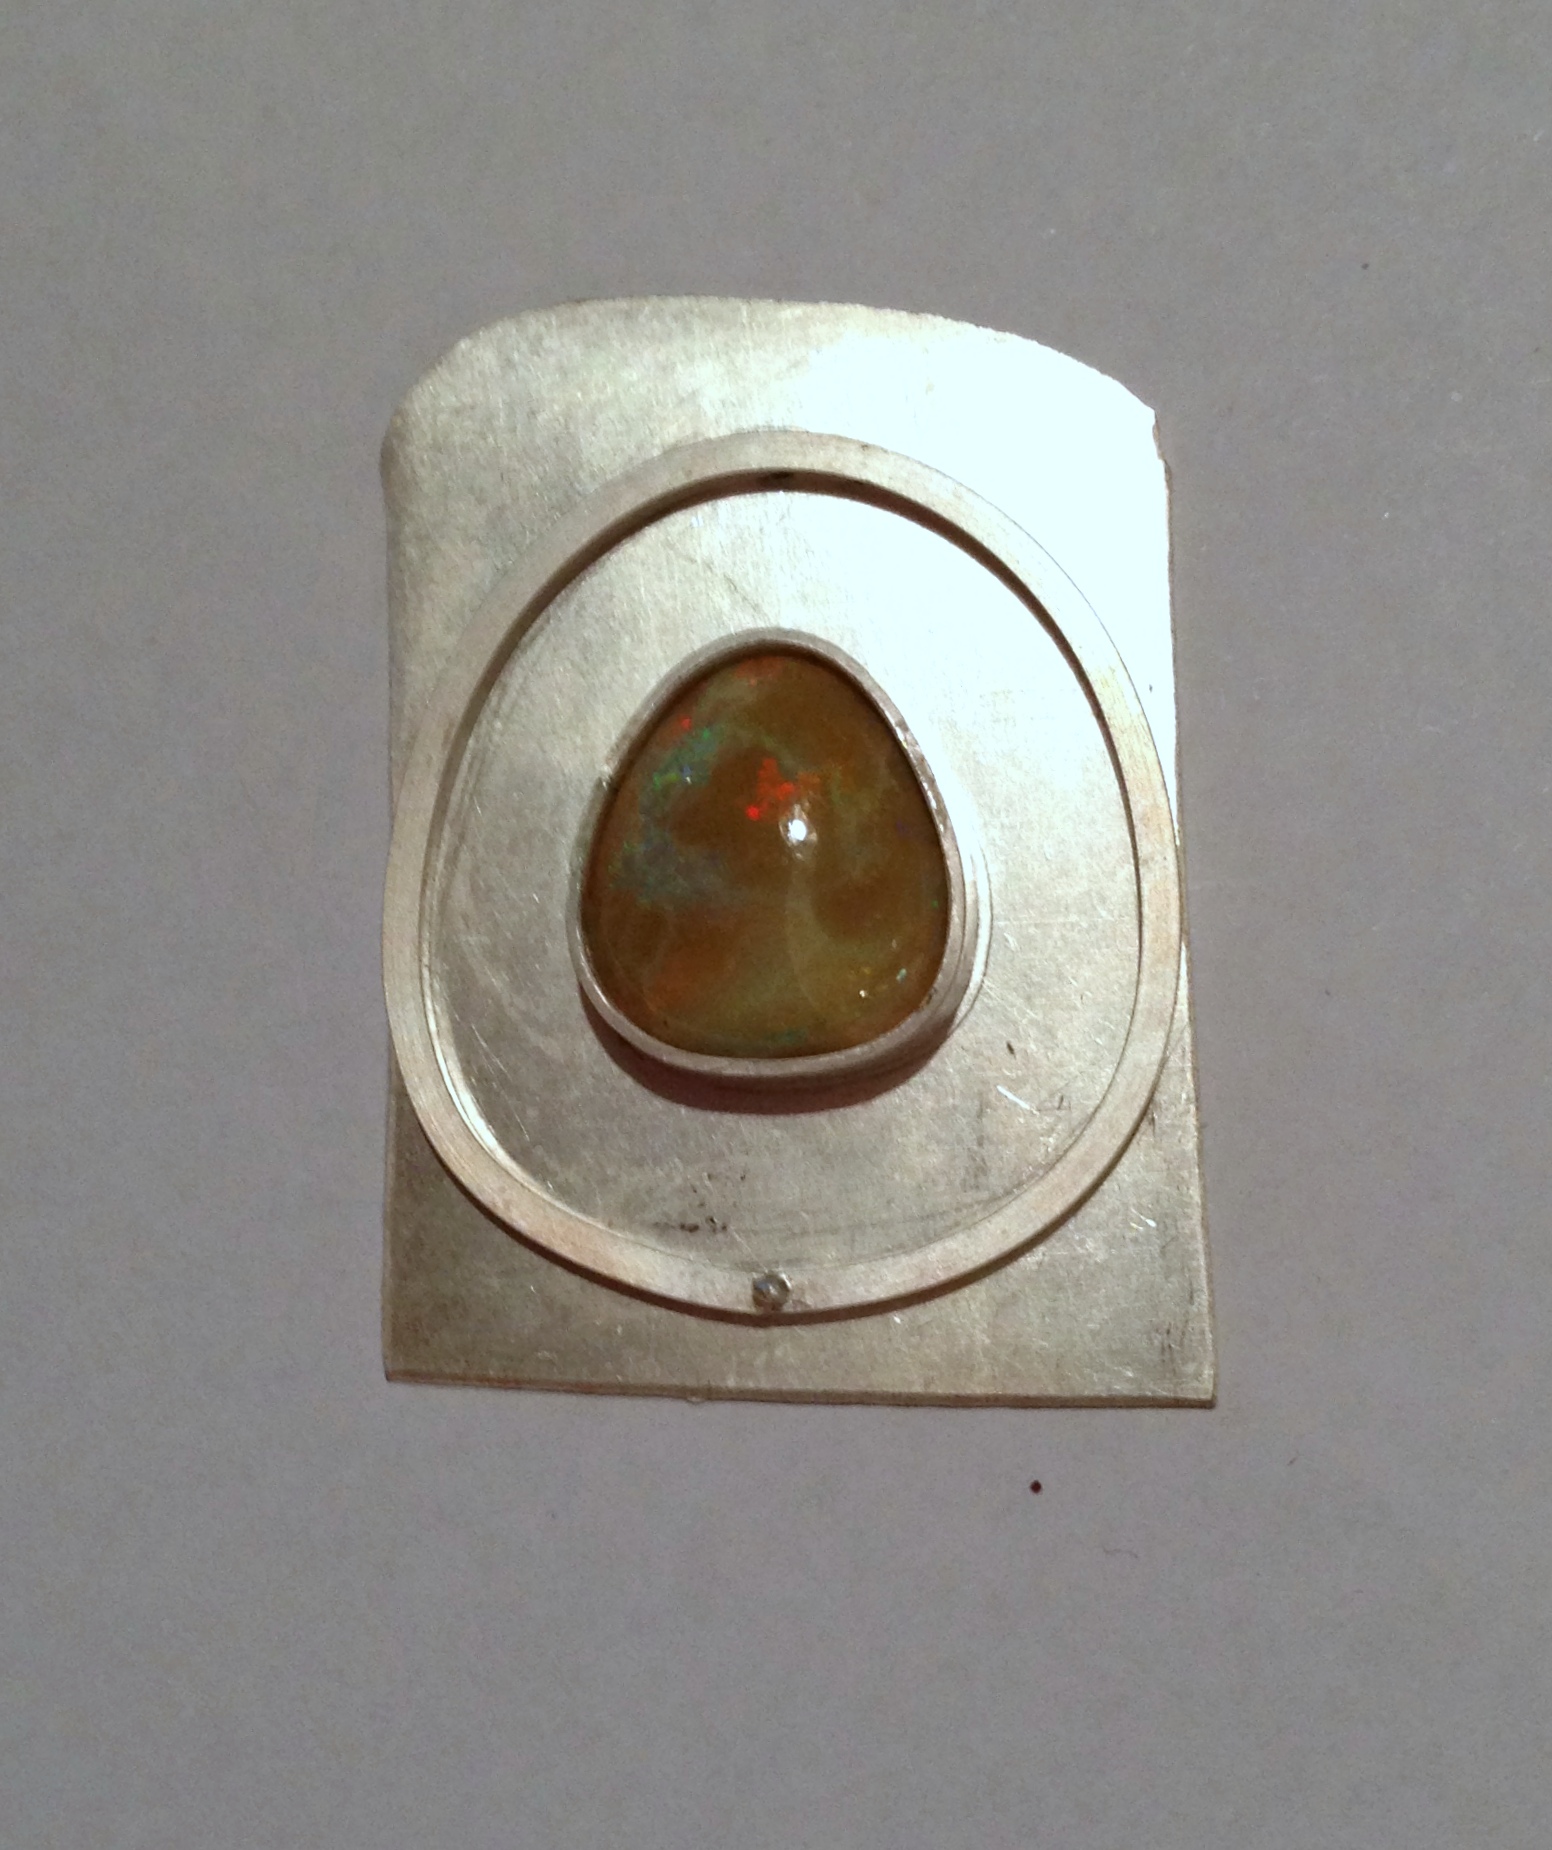
Keeping in mind the shape of your stone, bend the square wire to compliment that shape and solder it closed. Make sure it sits perfectly flat on the base plate – no gaps whatsoever. Now, solder the wire to the plate. The bezel is not soldered down at this point.
Now the fun part … turning the silver sheet into something wonderful. I love that you can take a flat piece of metal or wire and coax it into 3 dimensional life.
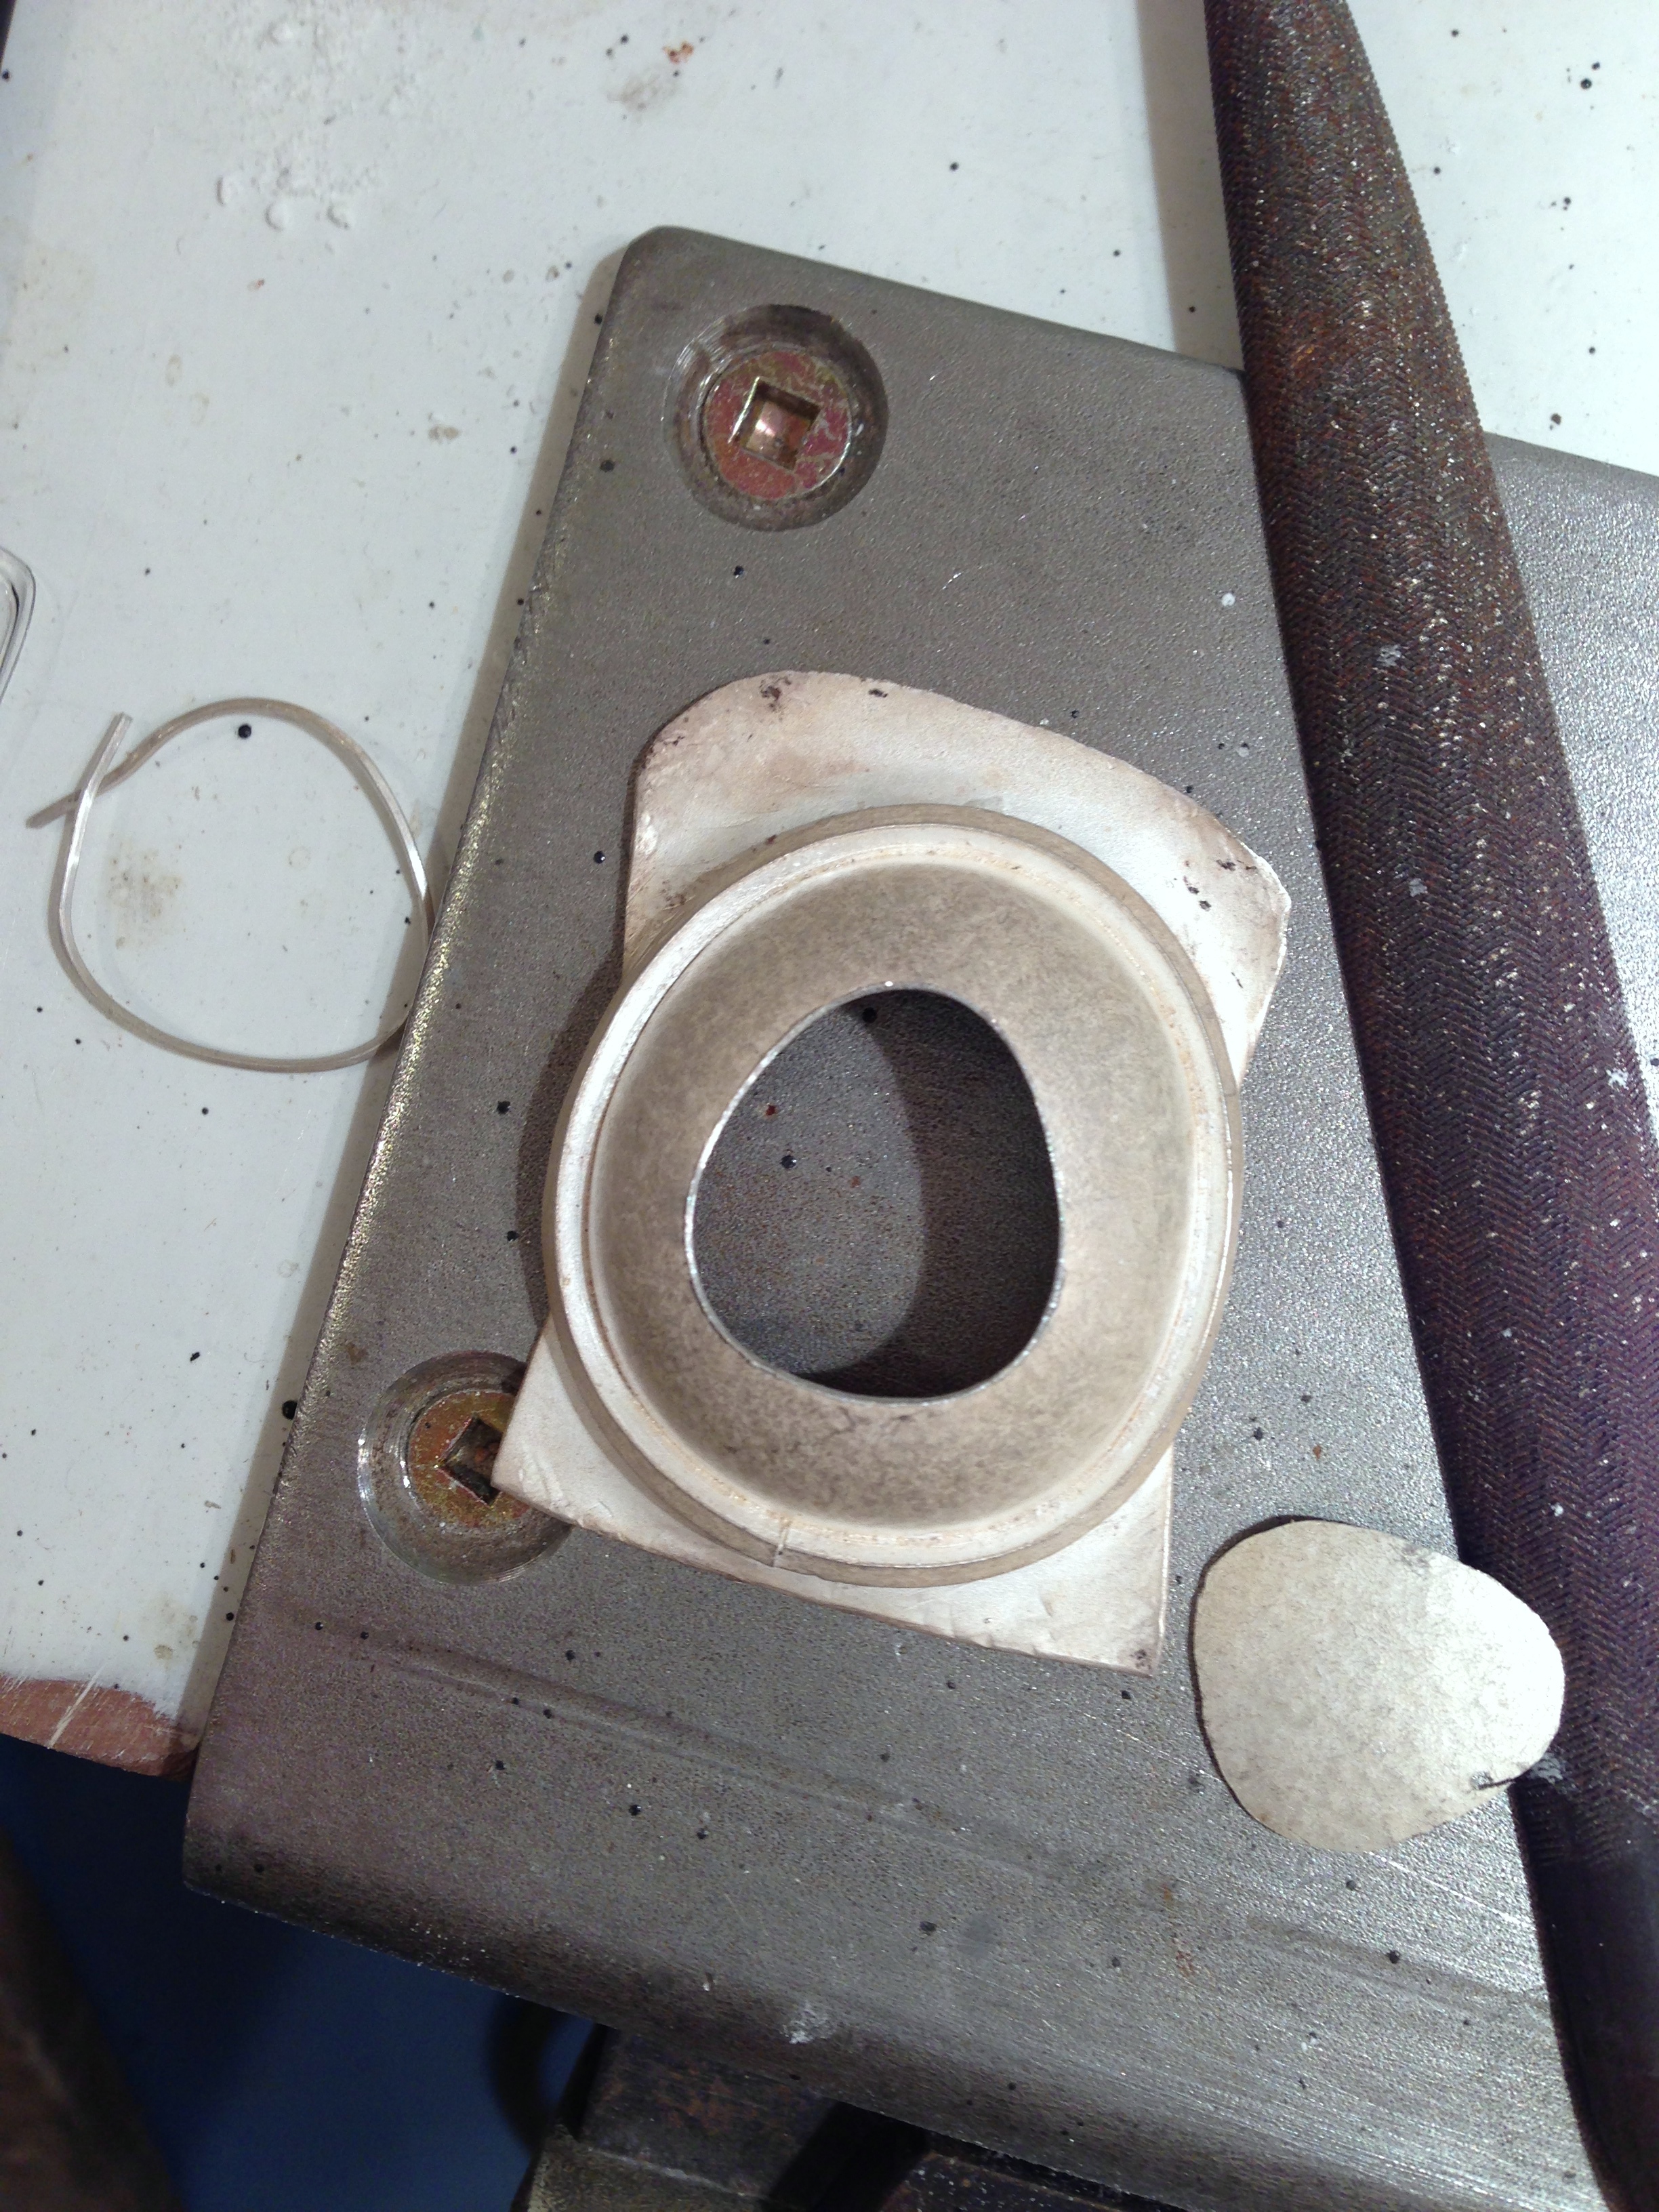
The technique is repoussé …
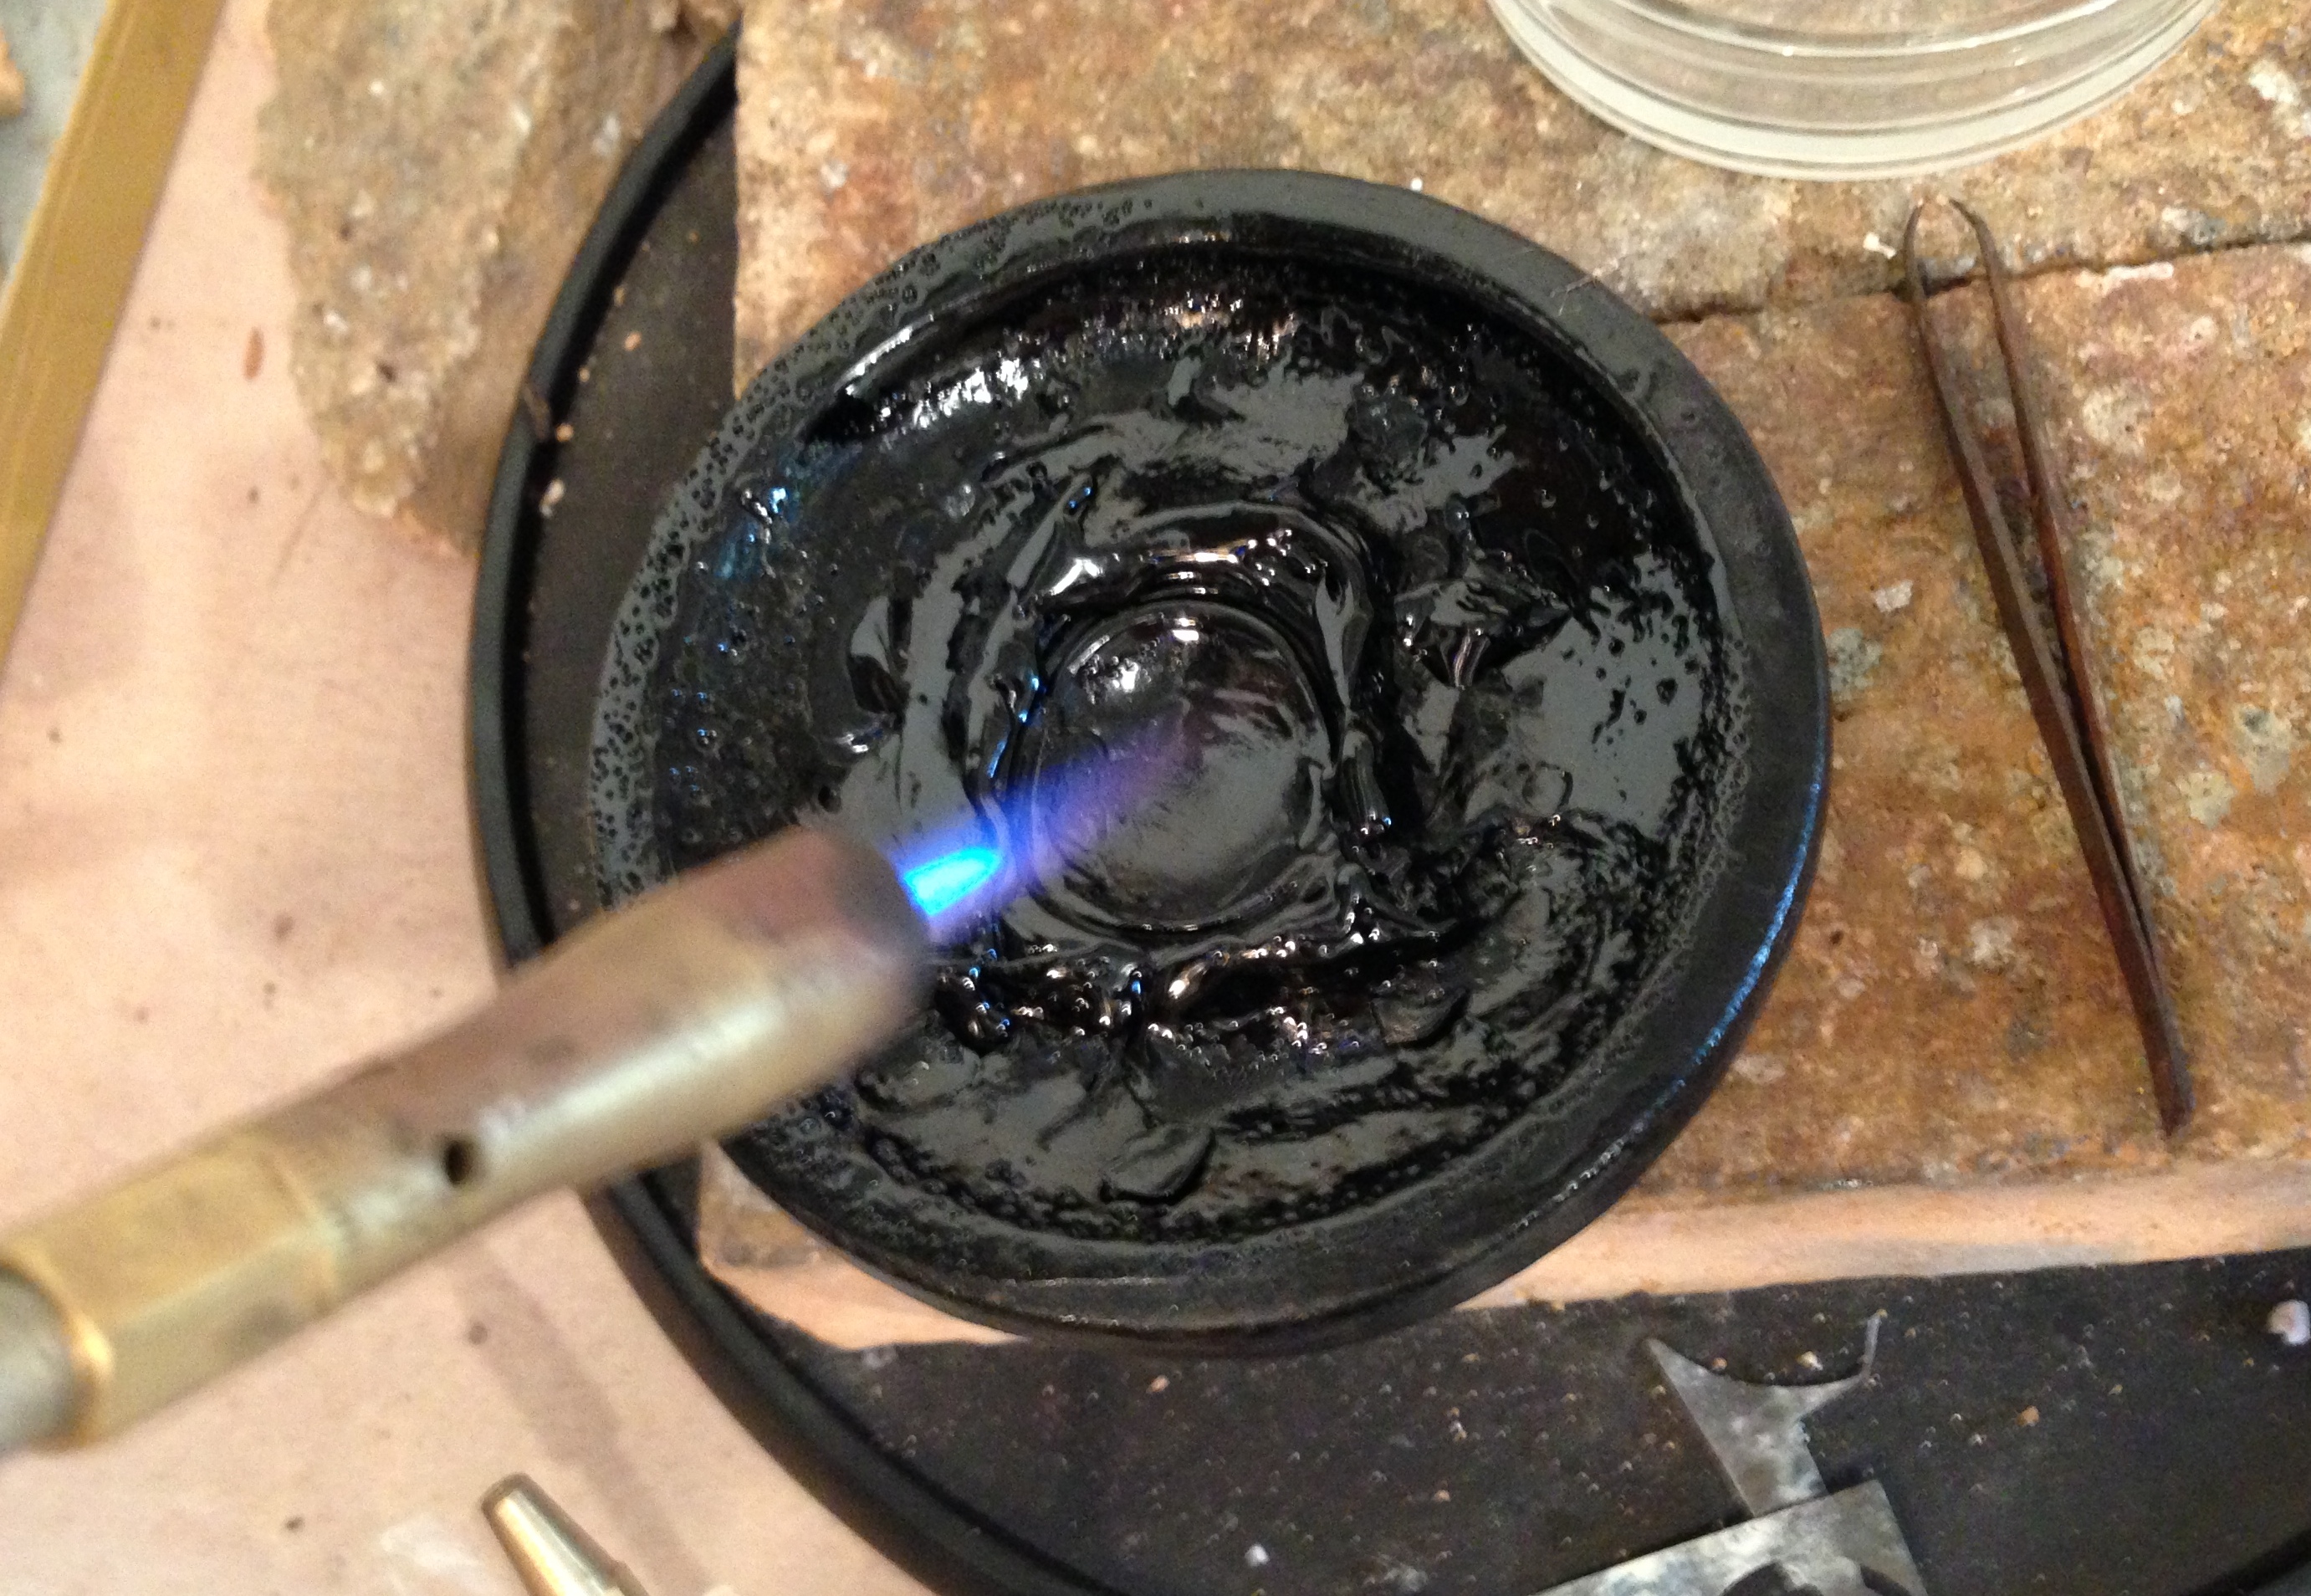
The piece is secured face down in heated pitch and then shaped from the back with either steel or wooden punches and a mallet or hammer. Care must be taken not to destroy the surface by inconsistent hammer blows, easy does it. Remember, metal is not very forgiving if you put big dents or scratches in it. Consistent hammering makes a beautiful texture too.
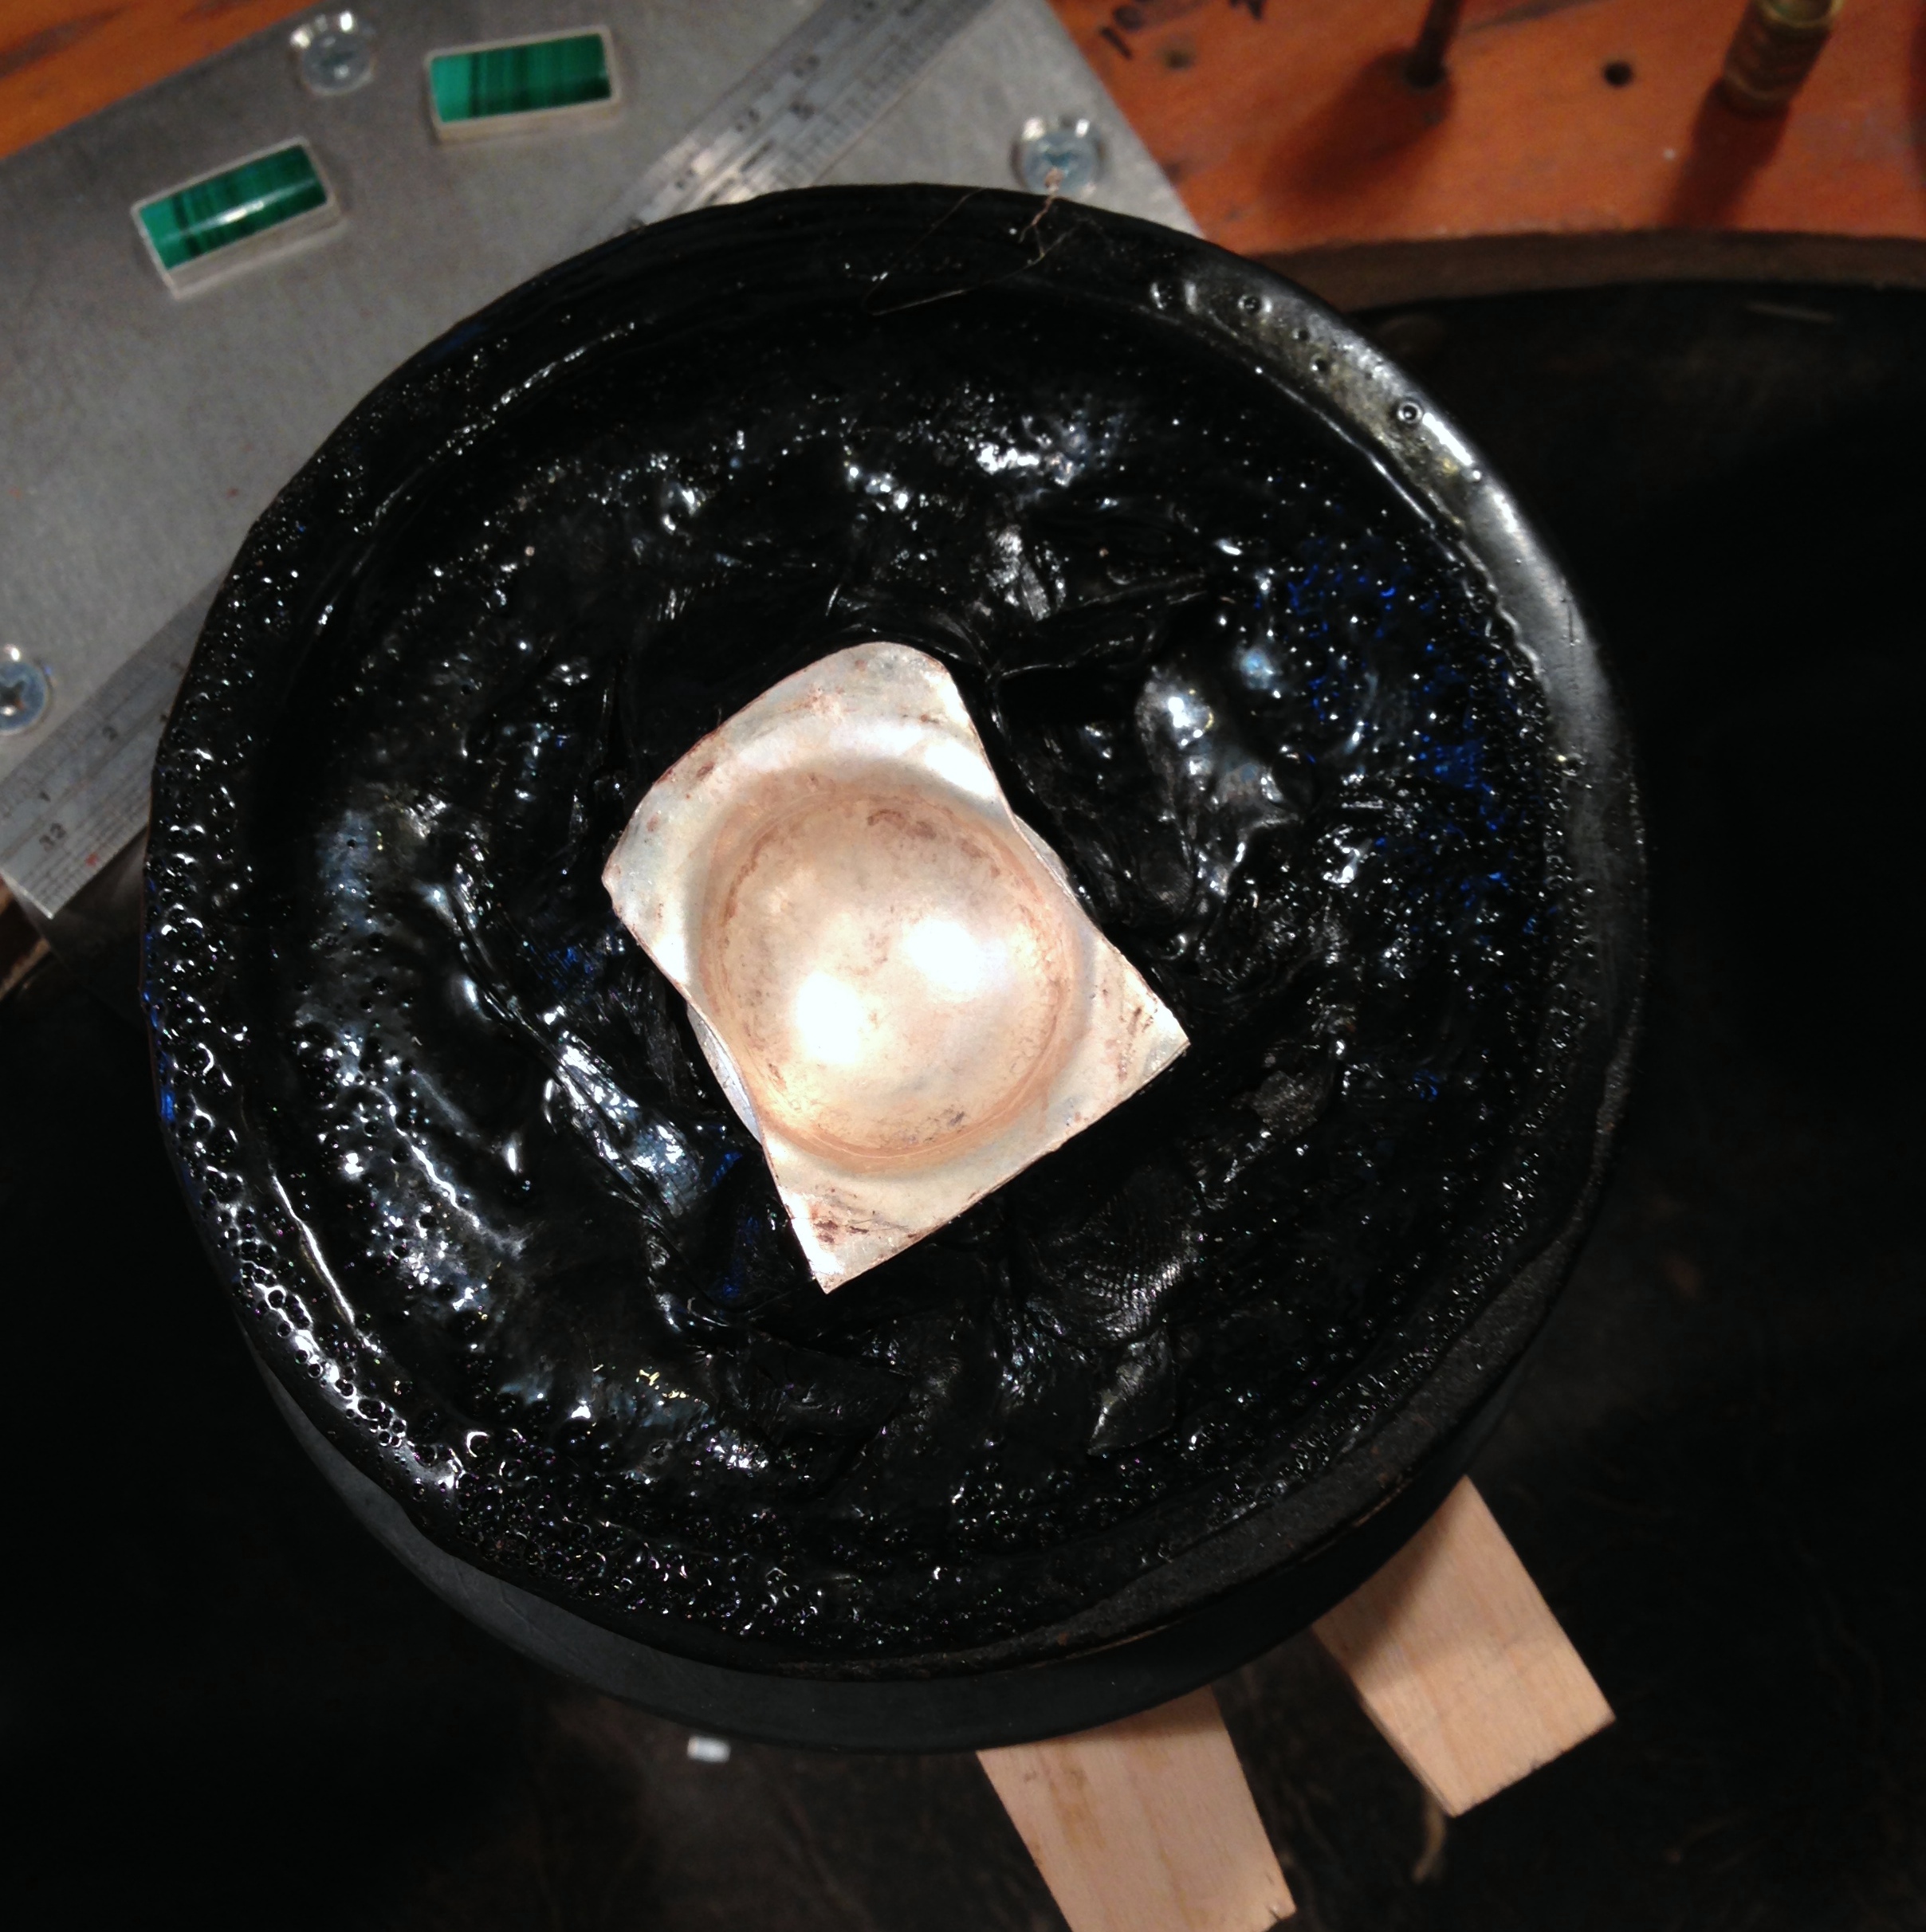
Now the flat sheet has been given life, transformed into a 3 dimensional form …
A hole is saw pierced to perfectly hold the bezel. The fit must be so snug that once the bezel is pushed into place it cannot move at all.
Again – no gaps! The fit must be perfect.
The bezel is then soldered into place and the excess silver is either filed or sawed away.
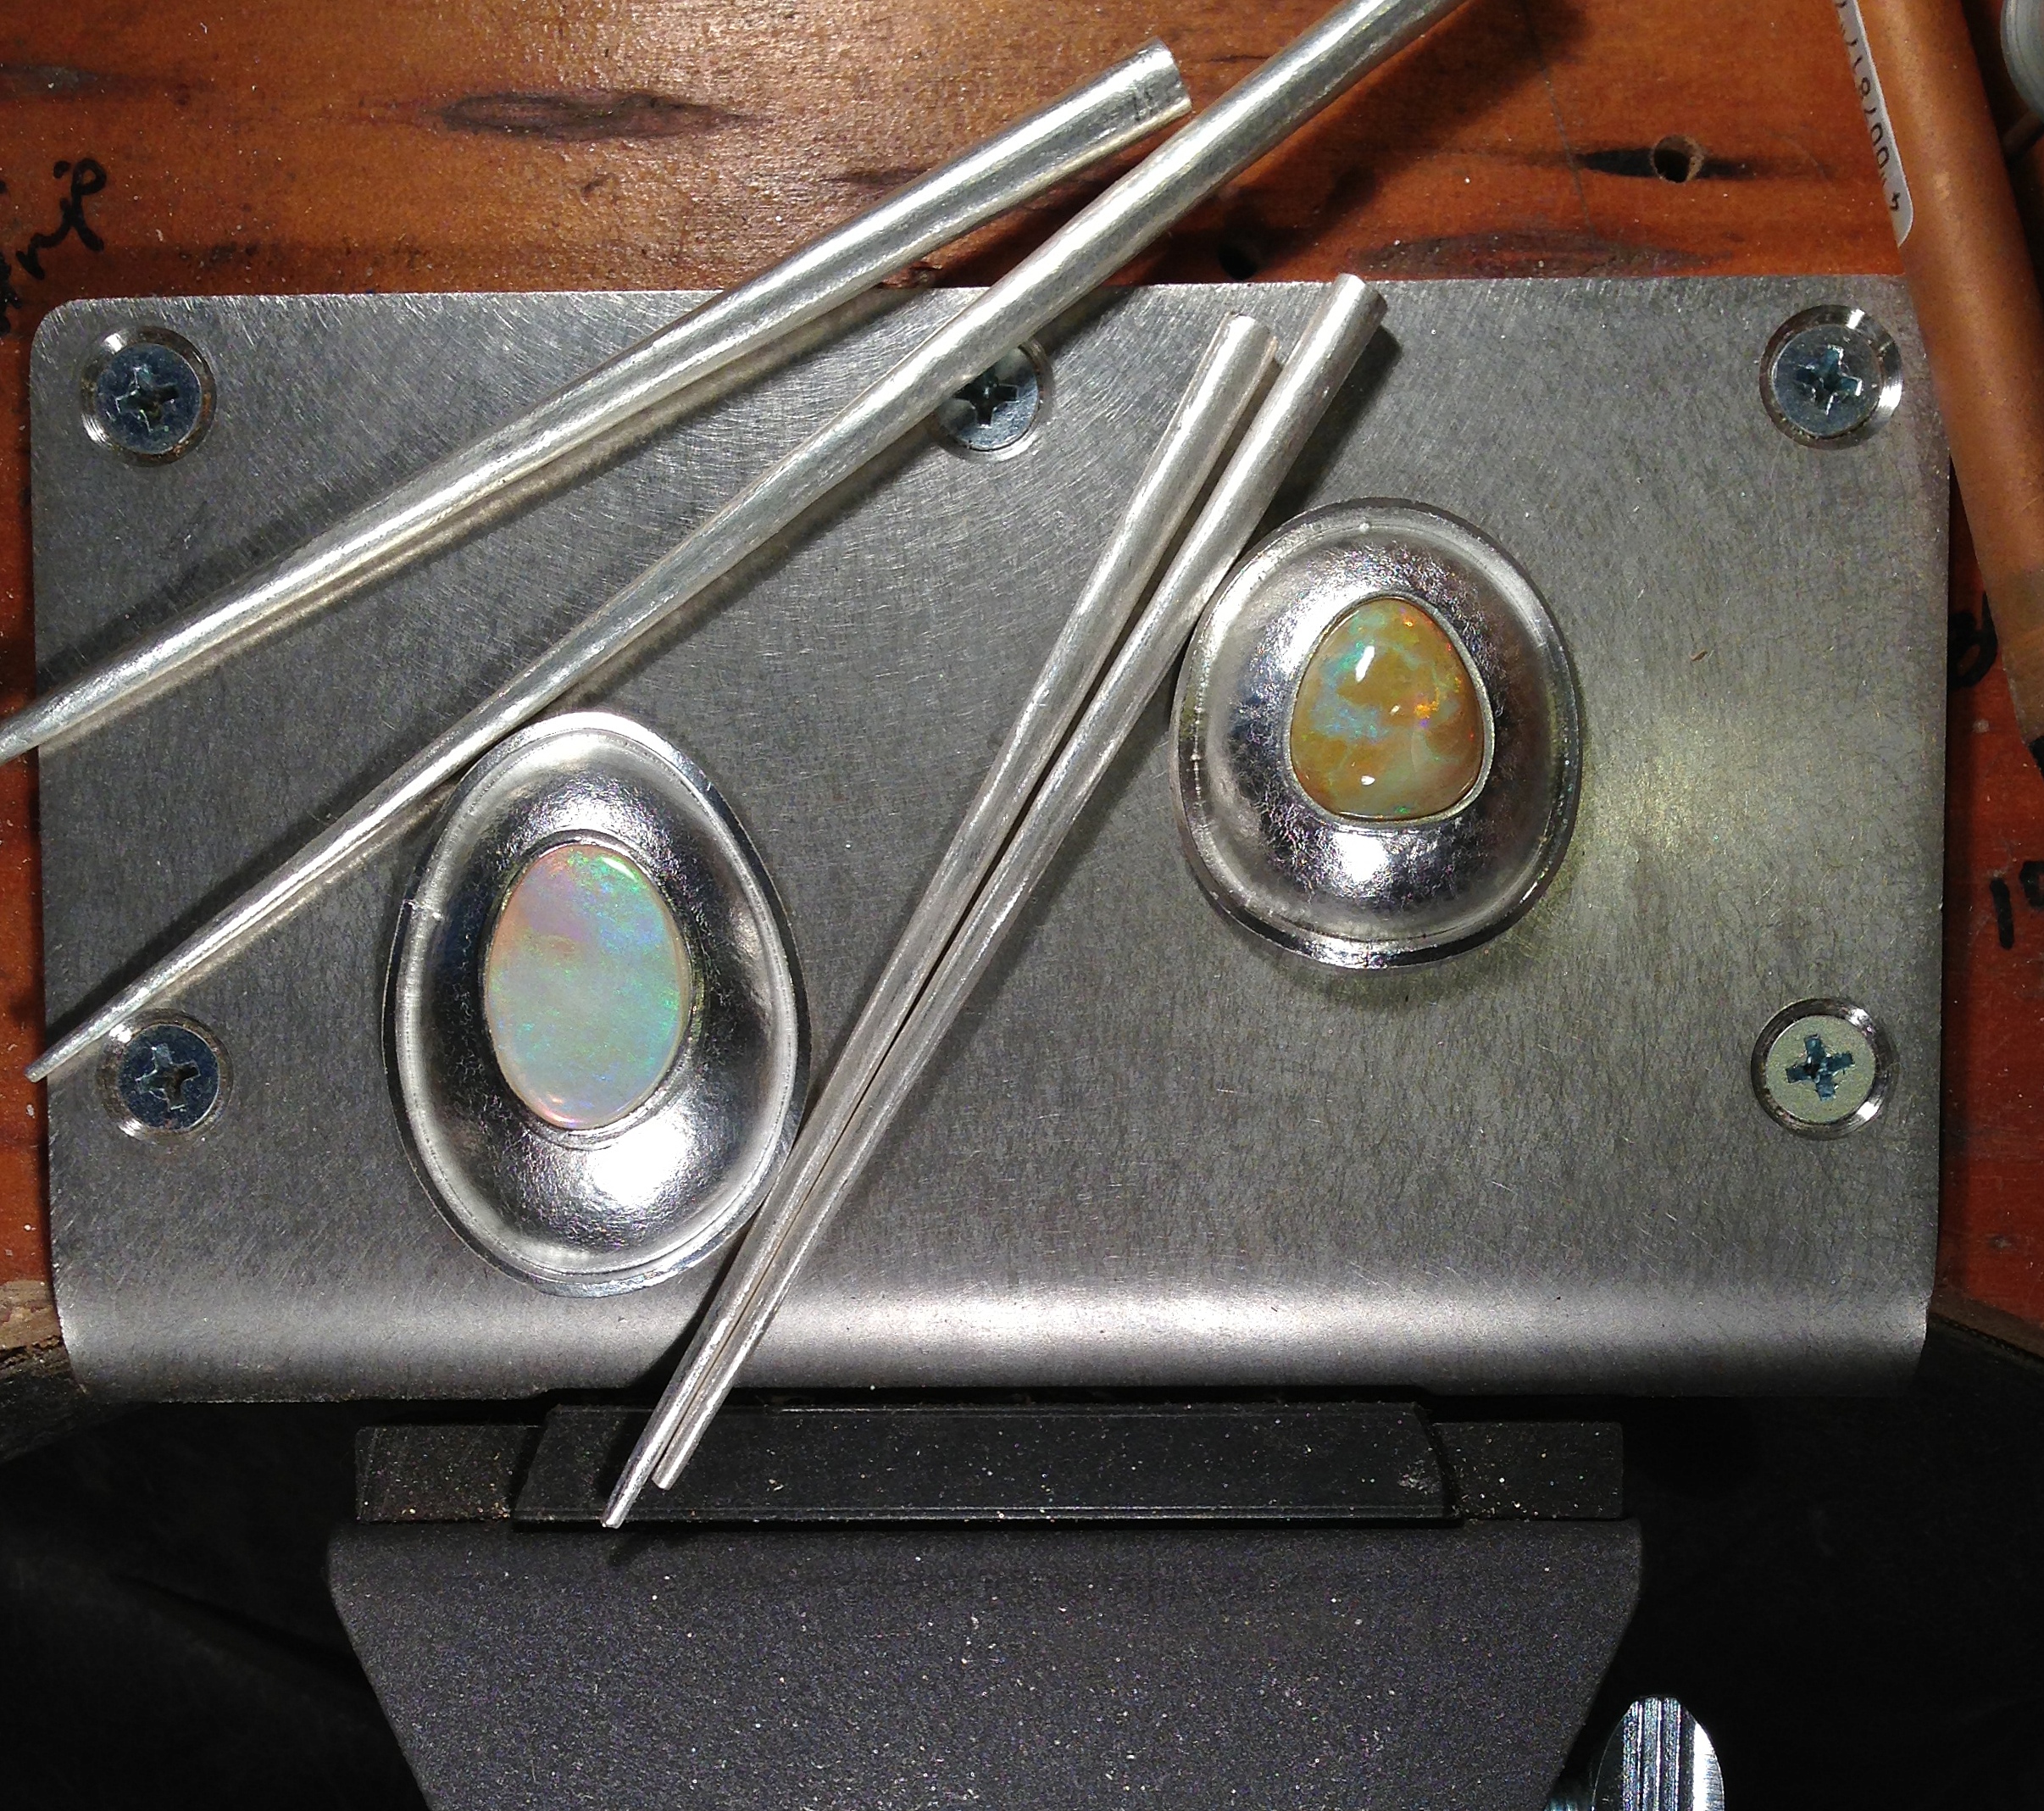
And here is the result …
Stay tuned.
Next I need to make findings for the back of the pendant, shape and finish the ‘carrots’, and set the opals. The pendant on the left will be set with a blue jelly opal.
So far I’m happy with how everything is turning out.
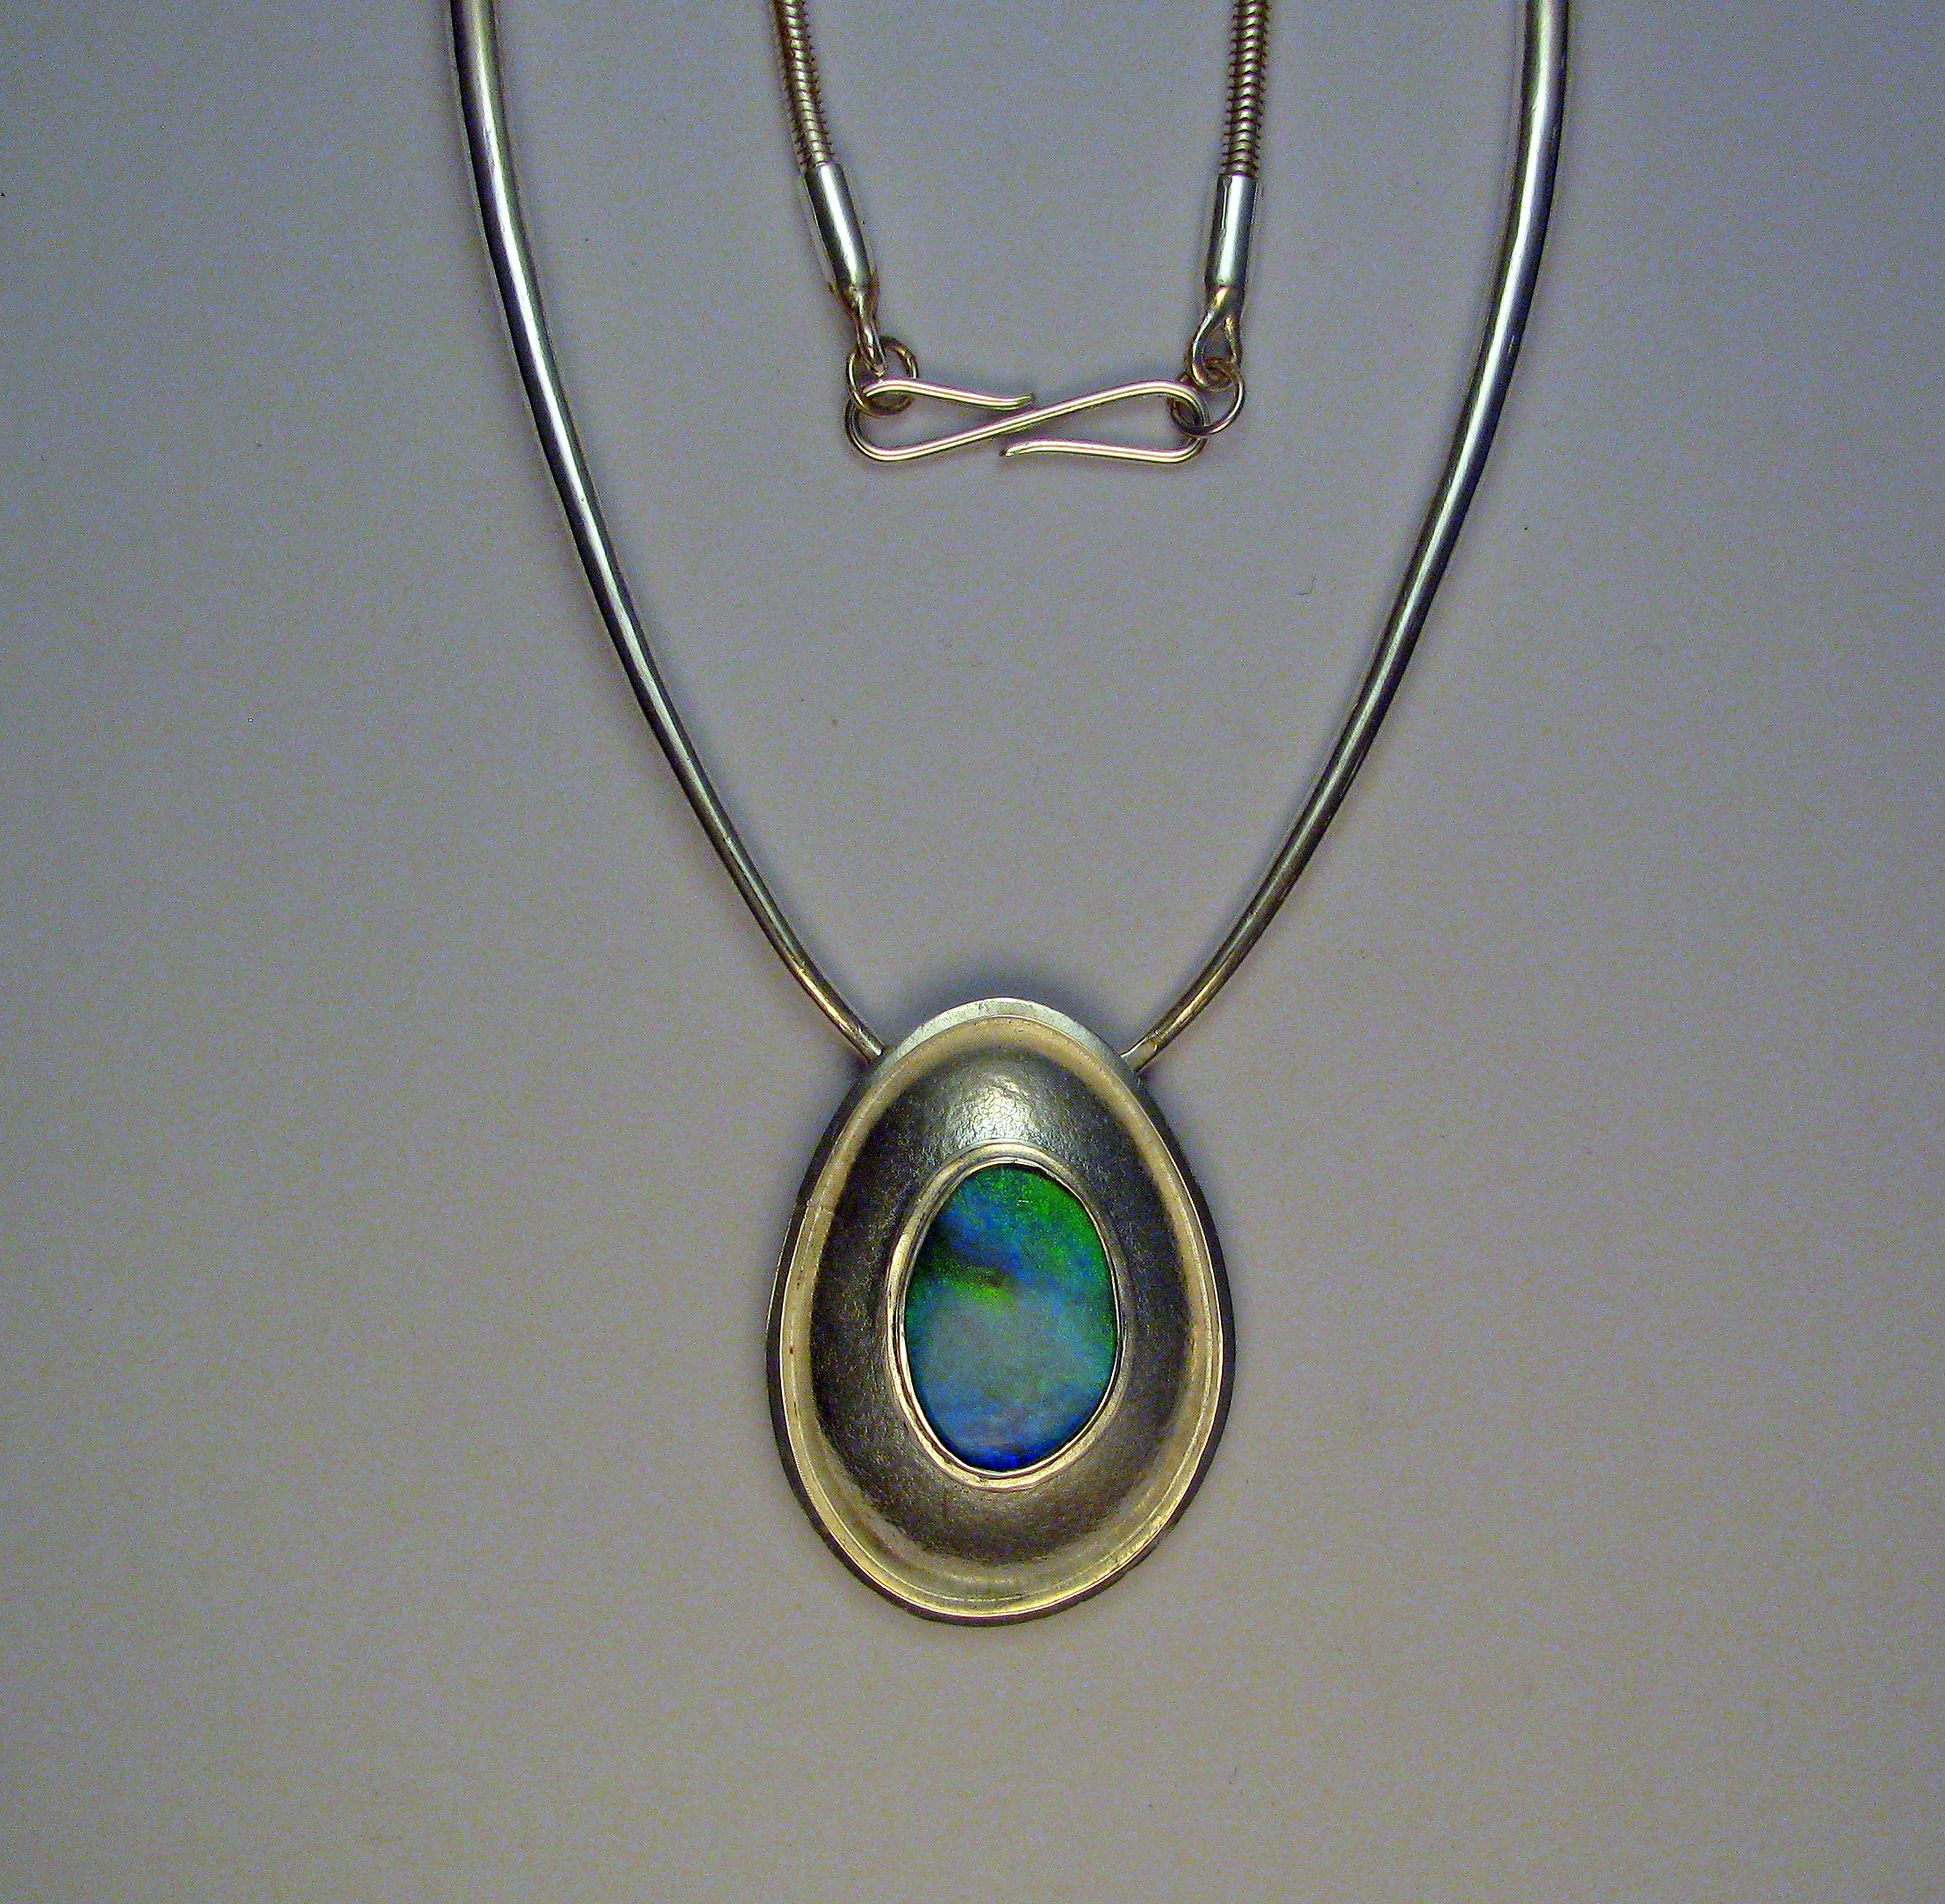
Many months later, the jelly opal piece is finished … I’m very happy with it.
To see more of my jewelry visit my website: http://www.robinphillipsjewelry.com.au or follow me on facebook at Robin Phillips Jewelry.

Stunning opal earrings and adorable, fluffy assistant!
The opal necklace will be fabulous….and I am certain there is already a buyer….you just haven’t met her yet! Just amazing. And the opal earrings are incredible. I loved reading about how you do your craft. Sari Logan
I cannot wait to see the finished piece, a work of art. I have never seen an opal this color, certainly a keeper piece do not sell!!!
Bravo Robin! Loved reading your weblog. Great to see the stages, it will be sold by the morrow!